How to build our new Chassis DESTINY a 3Dprinted RC car Chassis?
The whole design is made forscale 1/10. This is our third 3rd generation self-developed Chassis.
From here on in, each upgrade will be available for all of our cars. This means there will always be one up top super massive chassis for a car Body Kit with the latest developments and even more…
You can build a Chassis for any bodies (which only you have, we don’t) with Custom DESTINY.
New File Accessibility
There is only one Compressed file you need to download and you will have access to all Chassis variations, to all of our Body Kits and Custom DESTINY.
Here are the most important Changes/Upgrades
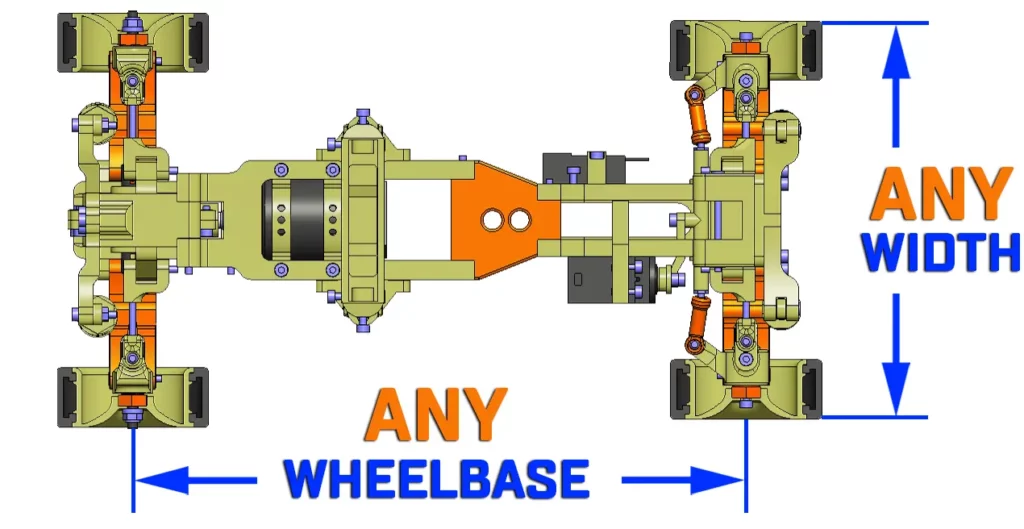
VARYING” parts (orange ones)
In the new downloadable WHOLE file package you will get main folders in which there are Constant/Base and so called “Varying” parts. With these changeable parts you are able to set any width and any desired length to the chassis.
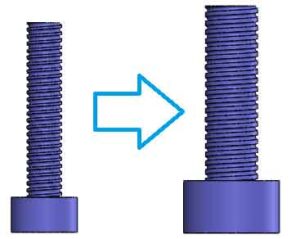
The M2 screws were too tiny and weak. With the M3 ones the chassis is more stable and robust. The assembly time is being reduced thanks to one type of screw being used mostly everywhere.
Two exceptions had to be made where we had to use different sized Screws/Rods. One is in the middle at the Body Mounting part which has M4 threaded rods. We needed to have these one size bigger, because this section of the chassis takes up a lot of stress during “gaming” and has to withstand enormous forces.
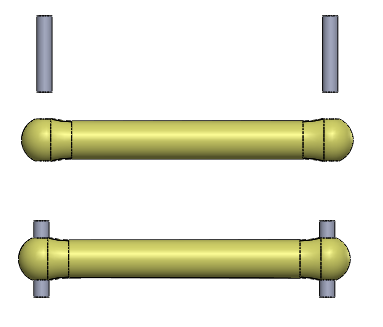
The second exception is the DogBone. We used cut M2 screws for one of the most vulnerable section of this vital part. Some other kind of little metal material can also be used, like a nail.
3Dprinted DogBone with M2 rod
cut M2 screws (blue) used in DogBone
I really don’t know why we didn’t start with a 3Dprinted version at the very beginning. “Why oh Why Mr. Anderson !?” The engineer brother really did not have enough faith in printing this item. He feared would break after 10 meters the RC car made. Well, by now we have tested this multiple times and so far so good!
One thing is sure though, we highly recommend this to print with 100% infill! It will warp a little, but becomes as strong as it gets. The length of the cut M2 rod is 13mm.
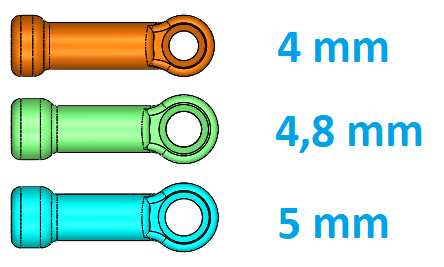
Printed connectors to the Ballheads are now available in three different sizes
In DESTINY we are using 8 Ballheads. At the turnbuckles(4 pcs) and at the steering (4 pcs).
As it came to our senses, we realized that the three most common Ballheads in a 1/10 scale RC system are the 4mm/4,8mm/5mm. Now you have flexibility, if only one of the below ballhead pieces are available to obtain in your area. You choose which one to use! Just make sure the thread on it is M3.
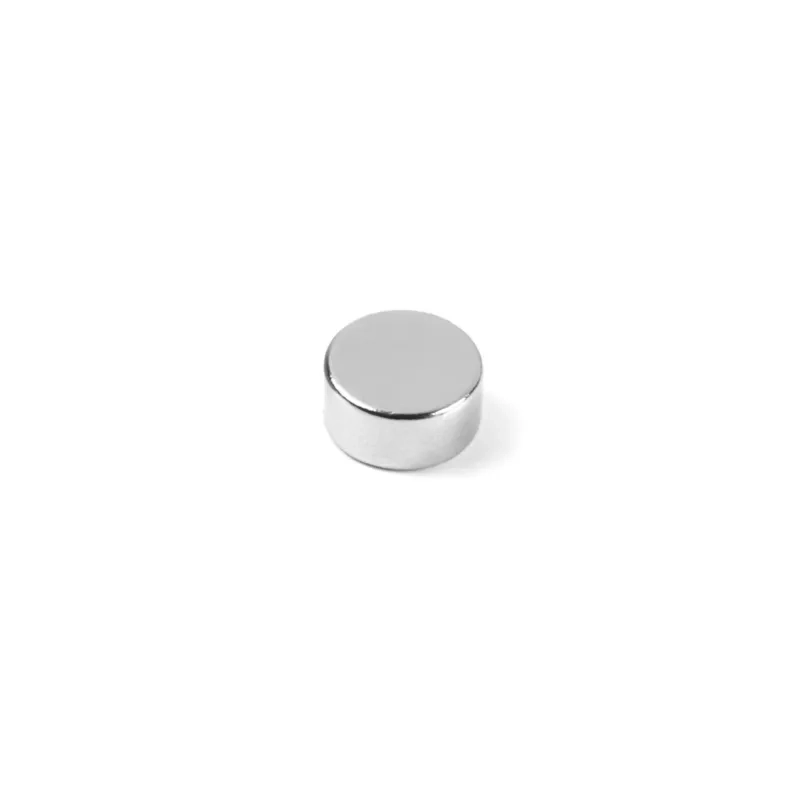
Magnets fixing the body to the chassis
The mounting system has also been improved slightly since the last design. This solution quite works, so onward we will be fixing the rc body kit to the chassis with magnets (grey in the section views). The orange parts are glued to the rc car’s bodyshell.
Magnet Size: 8mm diameter, width 4 mm All together 8pcs will be needed, 4 pieces at the frontal mounting and 4 in the middle. In the middle section there also the possibility to fix the body to the chassis with screws.
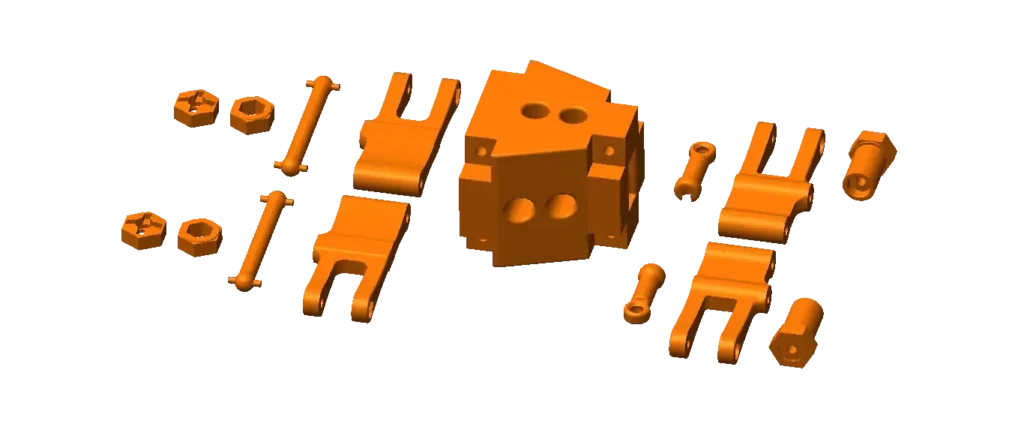
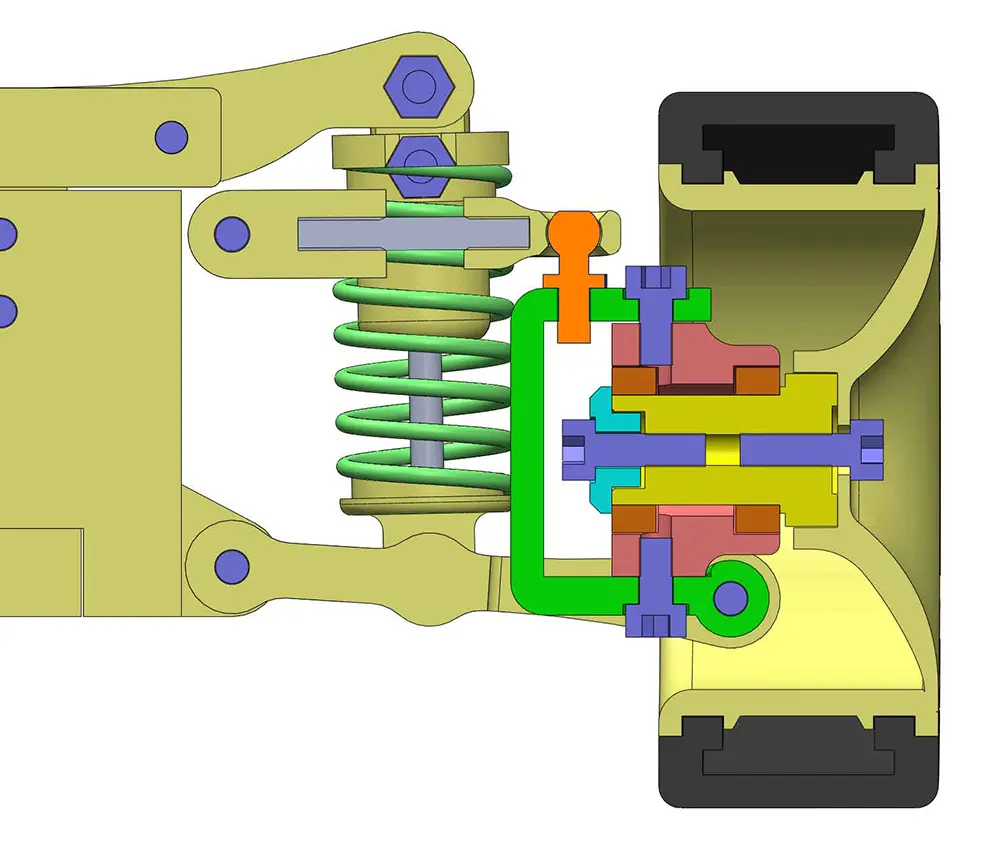
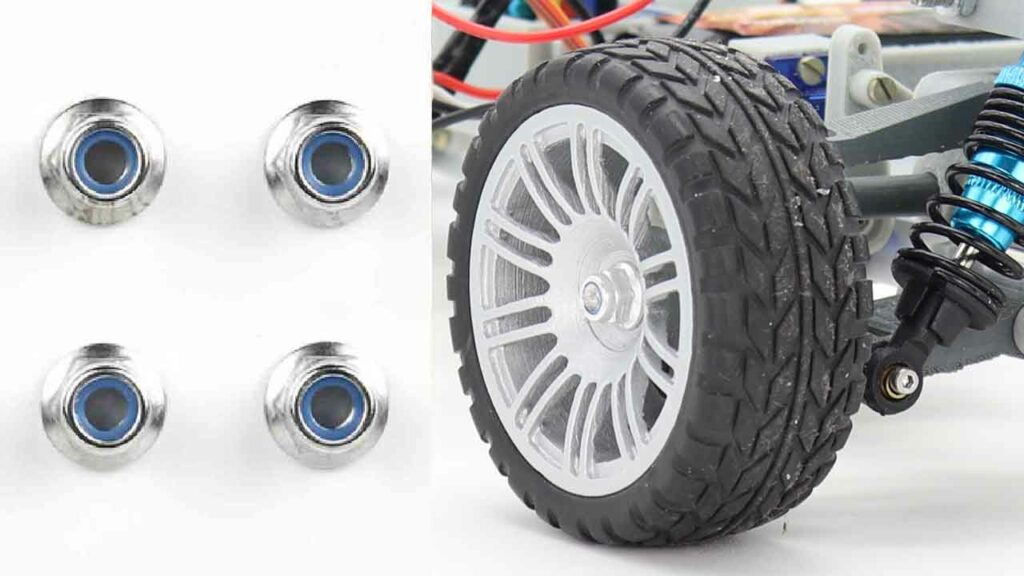
New Front Wheel Section
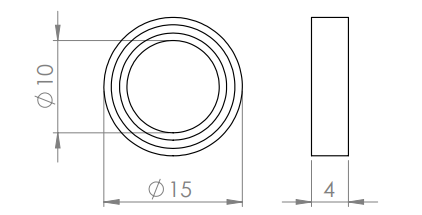
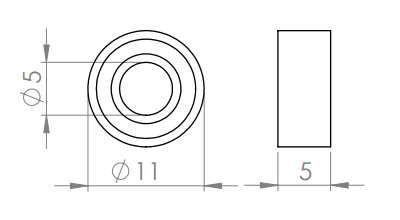
The new bearing is the same which is in use at the differential. Size: 10x15x4 mm.
The bearings are the two brown parts on the upcoming picture. The printed yellow shaft which is screwed together with a printed cap and the rim wheel holds the bearings. The red assembled printed part can rotate with the two M3x6m screw “axis”.
The turnbuckle (head attached with the orange ballcup) is changeable in length thanks to the rc car chassis specific grey M3 threaded rod.
The ballconnector head (on orange ballcup) comes in three different sizes just as the steering system sides: 4mm/4,8mm/5mm.
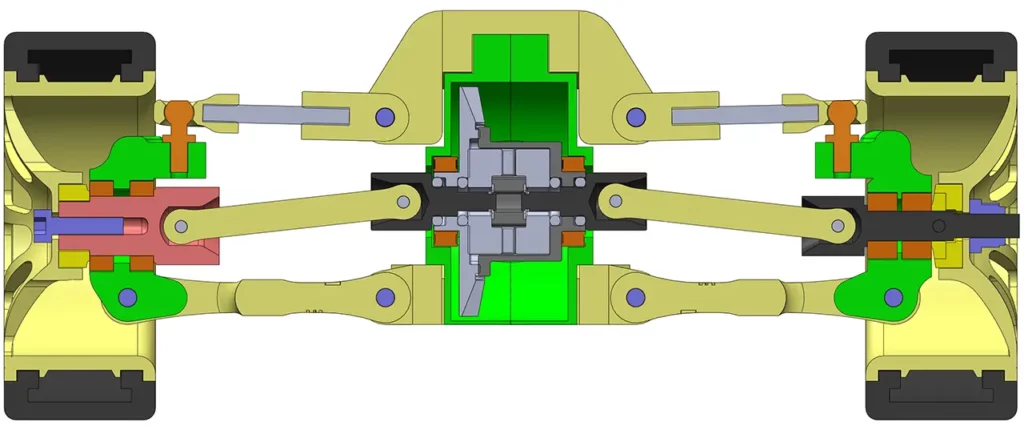
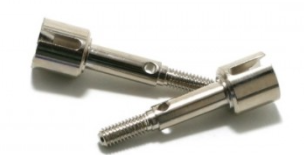
Rear bearing with two alternatives
The big bearing (10x15x4mm) is also available at the rear axle with printed parts (left side on next pic). We fixed the rim to the 3Dprinted shaft (light red) with M3x12 screw (blue). The yellow is the wheel adapter or wheelnut (hexagon).
If you choose the bigger bearing with 3Dprinted shaft you will stick to the one bearing being used through out the whole chassis building/assembly. When not applying the Tamiya wheel axle means another cost cut for you, around 10 bucks! But, of course it is still available to the chassis to be built with it!
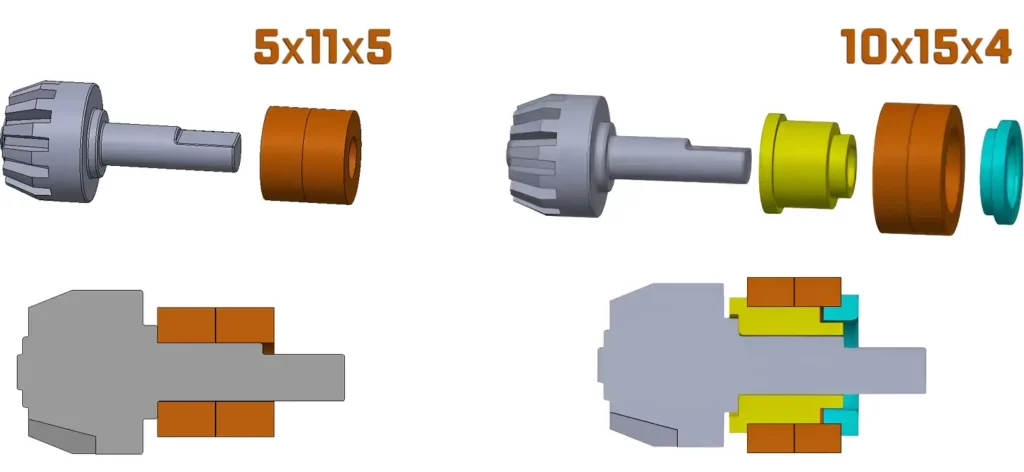
“Ebay” Differential Inlet Shaft with 10x15x4 Bearings instead of 5x11x5
Changing this was because of the idea to make it possible to use only one type of bearing throughout the whole Rc car Chassis. This is why we created this new design. The yellow and the turquoise blue part are 3Dprinted, the two brown are the bearings. For this variation there is also a new housing that holds this.
This bigger bearing will also be in use if you 3Dprint the whole Bevel Gear Set. Upcoming headline below.
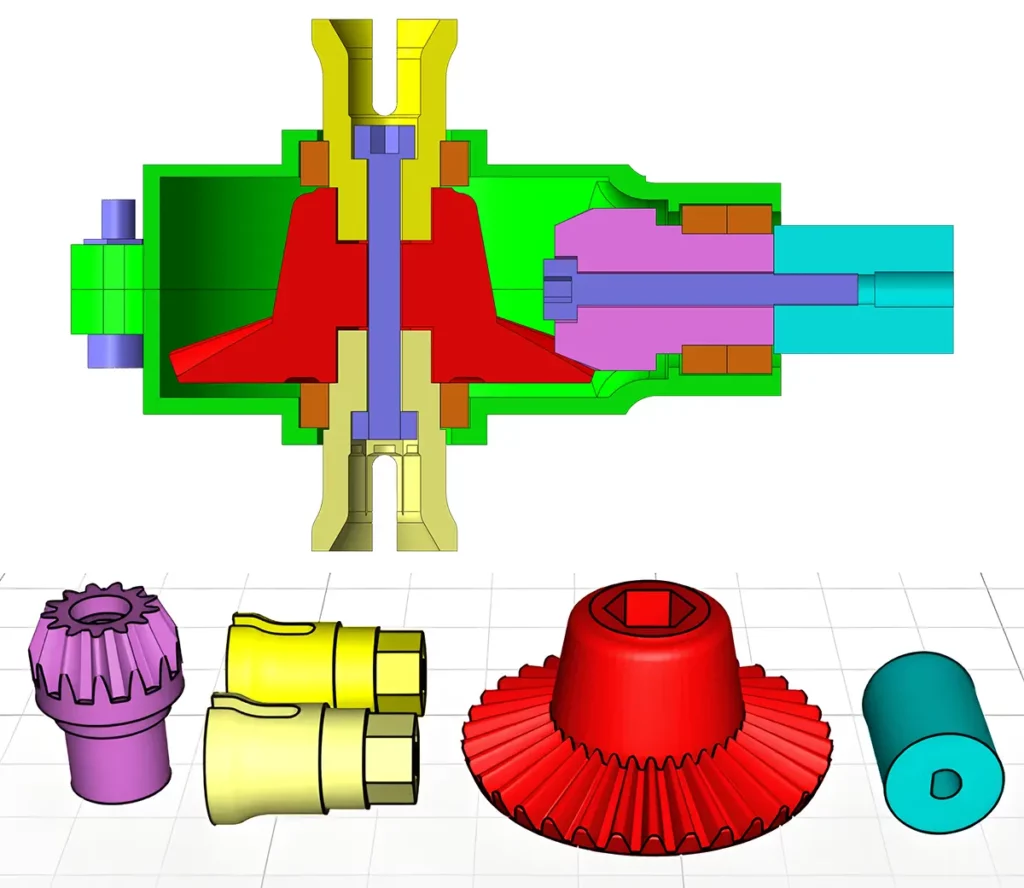
3Dprinted Bevel Gears
Rc Chassis printed Bevel Gear section with parts
3DPrint it in order to spare another 10 dollars from ebay! But you’ll not have a differential! This option is providing a simple direct drive bevel gear set, if you decide to incorporate. Anyway, the number of teeth, the gear ratio and the size is the same.
In this case all the 4 bearings (brown on the picture) are the same size: 10x15x4 mm
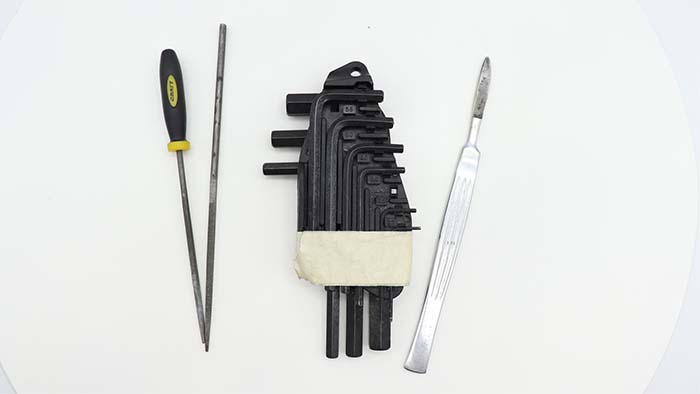
Assembly steps:
Place Bearings (brown) into both sides of the Housing (green).
Put the Dogbone holder (nut version – butter white) into the bearing, then pull on the Driven Gear (red).
Place the two Bearings on the Drive Gear (pink), after that you can screw it with the Clutch (turquoise blue) with an M3x25.
Place the Drive Gear (pink) on the Driven Gear (red) inside the housing. After that, fix the two sides of the housing together.
Click in the other Dogbone holder (bolt head version – yellow).
Screw the Driven Gear (red) the two Dogbone holders together with an M3x25.
Lastly, screw the housing together with four M3x10s.
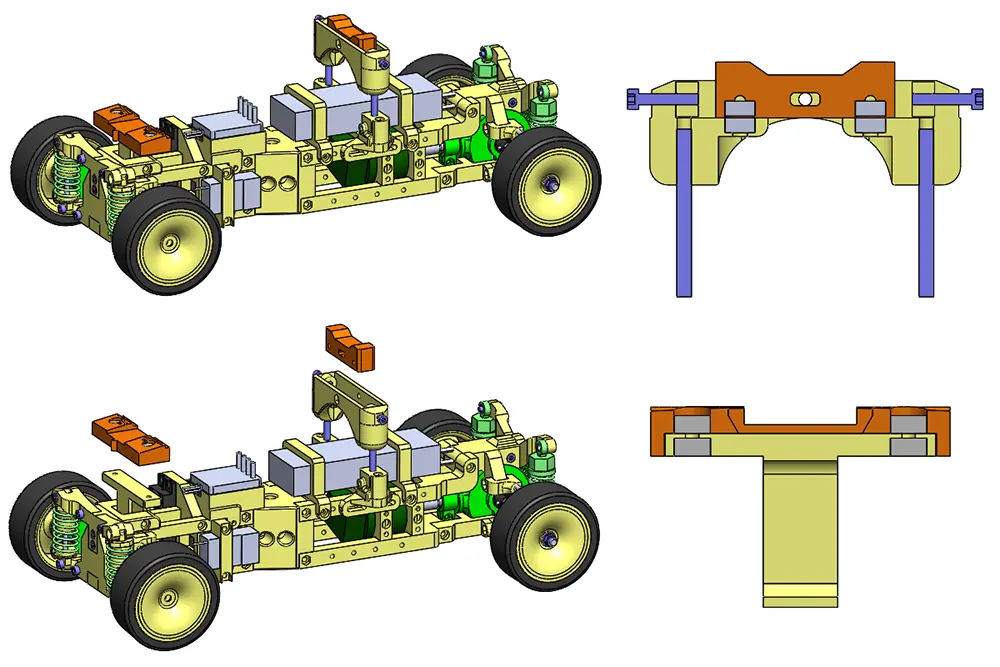
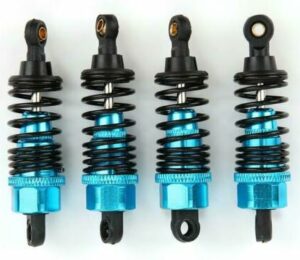
Three different sizes of Rear Shock Absorber brackets. New Receiver and Controller Brackets.
We designed those two brackets for the receiver and the controller. Attention! It will only work for the exact same type of devices. Check the sizes before printing if it’ll be good for you! Receiver bracket is 20x12mm. The Controller bracket is 30x36mm.
The Rear Shock Absorber bracket now is coming in three different sizes! The height of the fixing arch is changing for Rear Suspension hole to hole distance: 50mm/55mm/60mm. We did this in order to help You out, if you cannot find one kind of suspension in any shops near you. Now, there are two more options for you to build this chassis with. For the frontal suspension you will only need the spring. The spring holder both up and down are 3D prints so you can have the shortest Hole to Hole distance. This means any sports car which hood is extremely low can be built.
There is an important decision for YOU to make!
Buy or not Buy?
Obtaining More Parts (Making Destiny with Factory pieces)
Forcing Low Cost (3Dprinting as much as possible)
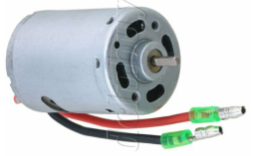
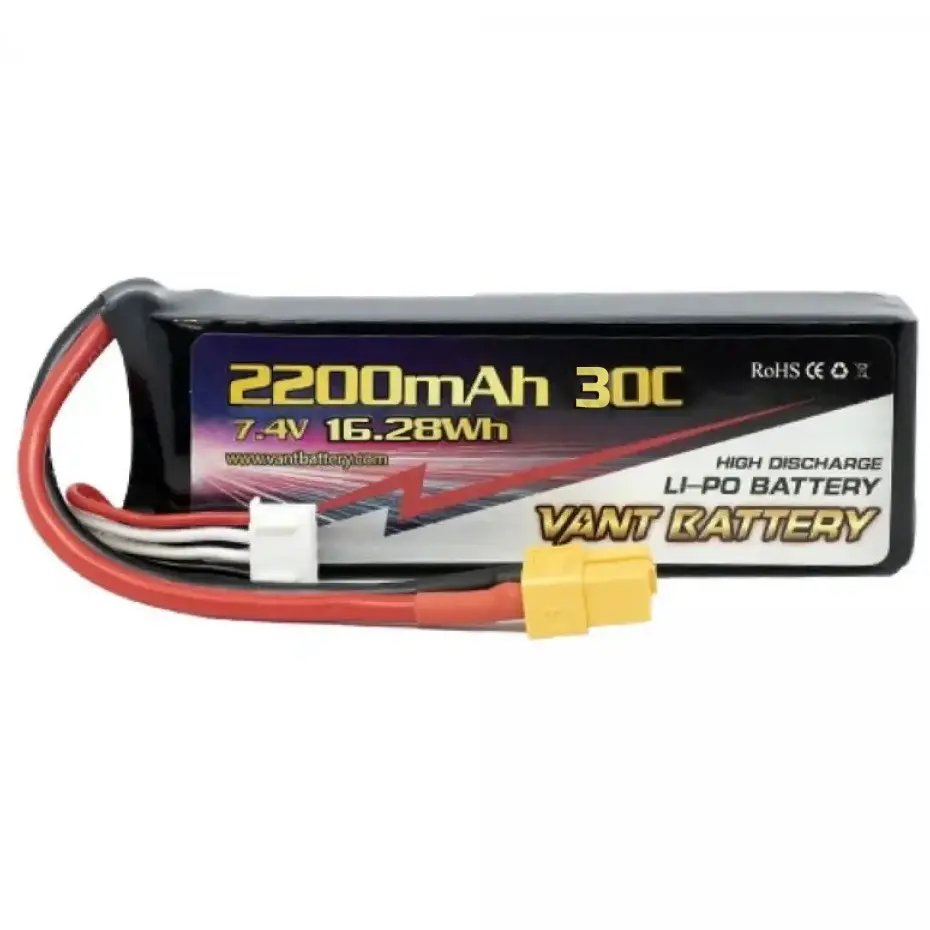
Motor
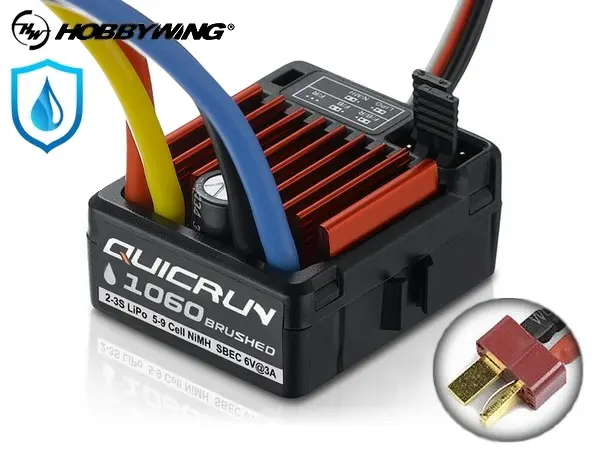
Motor controller
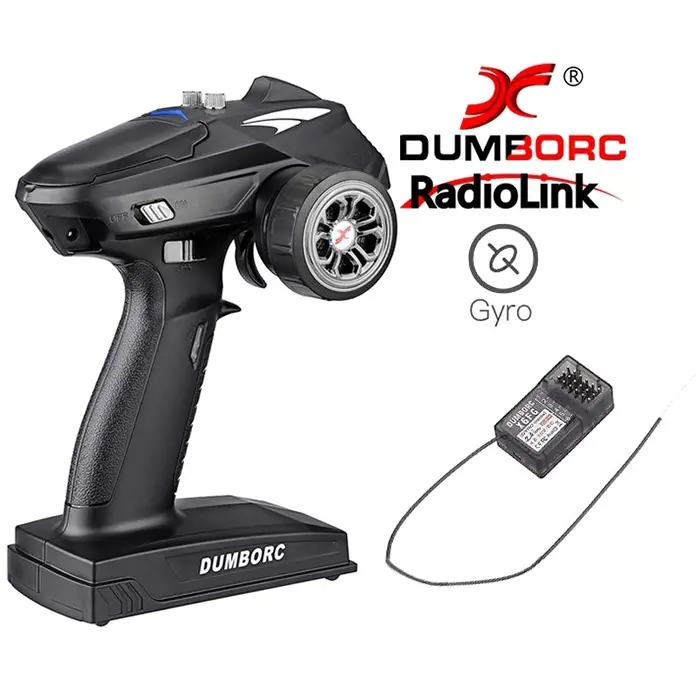
Pistol Grip Transmitter with Receiver
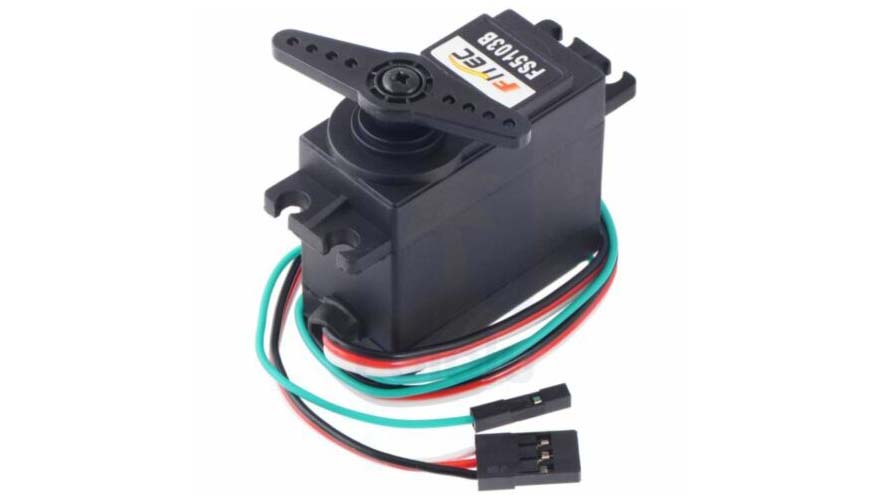
Servo
Ballhead
Bearings 10x15x4
Suspension
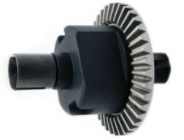
Differential
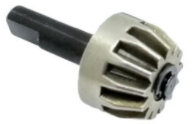
Differential Inlet Gear
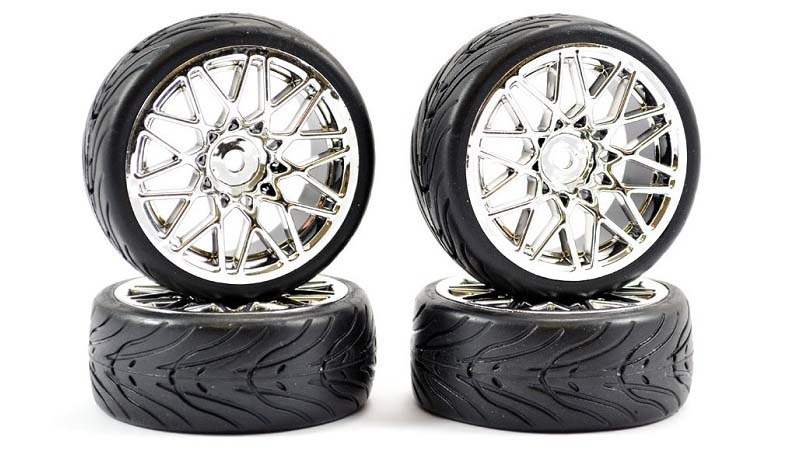
Tires
OPTIONALS:
Flange Lock Nut M4
Tamiya Wheel Axle 2pcs
5x11x5 Bearing
Motor
Motor controller
Pistol Grip Transmitter with Receiver
Servo
Ballhead
Bearings 10x15x4
Suspension
Tires
Bill of Materials /DESTINY
Threaded rods: M4 2 pieces ~47mm long *car chassis specific M3 2 pieces ~15mm long *car chassis specific (Rear Turn Buckle) M3 2 pieces ~11mm long *car chassis specific (Front Turn Buckle)
Magnets: D8x4 8 pieces
M3 ball joint 8 pieces
Bearings: 5x11x5 (6 pieces OPTIONAL (Tamiya Rear Axle and Bevel Inlet Gear Bearing)) 10x15x4 12 pieces (8pcs for the wheels and 4pcs for the differential)
FANTASTIC! I just downloaded all the files and am going to begin purchasing the hardware. I already have a body printed that I was hoping to use (1/8 scale Volvo 145 wagon).. would it be possible to generate the parts to increase the Wheelbase to 330mm?
Hey,
300mm is the maximum as for the wheelbase. The whole chassis is designed for 1/10 cars. I suggest you print it in 1/10 scale.
In blender of course you can try some modifications be as creative as possible, but unfortunately we cannot help.
We are working on the next short film and the chassis assembly video! Peace OUT! Happy building!
I am working on the chassis assembly video, which will be around 45mins. It’ll include everything!
Unfortunately, I cannot tell you when it will be ready 🙁
Well, it is certainly smaller so in theory you can, but the design is still optimal for 1/10th cars. You can try and “LEGO” your way out, but even the wheel holding pieces should be monstrous to your 1/18 project, or whatever… Good luck! 🙂
Made the Chassis and I have to confess it is a work of art. Congratulations guys. Had to make a couple of mods to handle my stock battery and controllers but nothing that interfered with the chassis construction
Just working on the body now.
Thanks Derek!
It is far from being perfect as you can read it in the forum when we put a stronger motor in it. (so hence the journey together 🙂 The chassis right now is kind of designed around to this motor we’ve been using. We’d like bigger, better and then still be very sturdy… Please feel free to post your changes/inventions ideas to the thread
Let’s get this thing even more cool together! 🙂
 DolphinOriginal price was: $1.00.$0.00Current price is: $0.00.
 Lion Cub$3.00
 Foldable Sheet Box$0.00
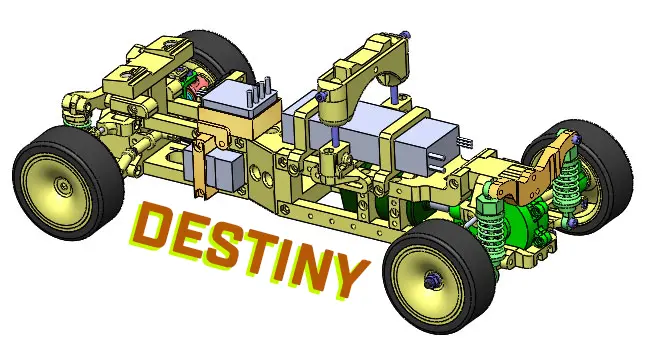


Leave a Reply
You must be logged in to post a comment.