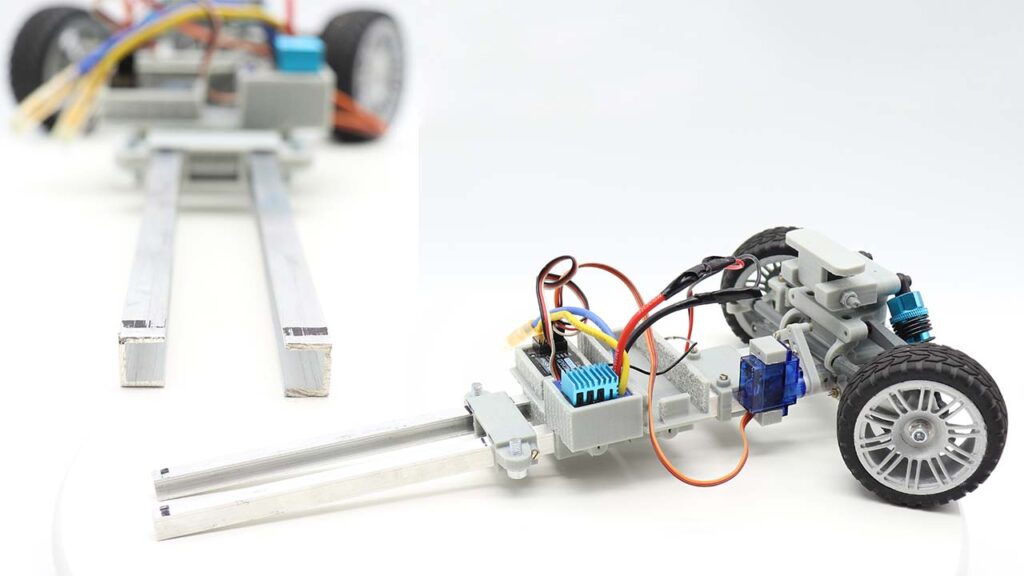
We strive for an ultimate universal chassis because we wanna use it under many 3D printed car bodies. So that’s why the slideable parts. The chassis is built on a 2 (aluminium) U profile (8×10 mm) with bought and 3D printed parts.
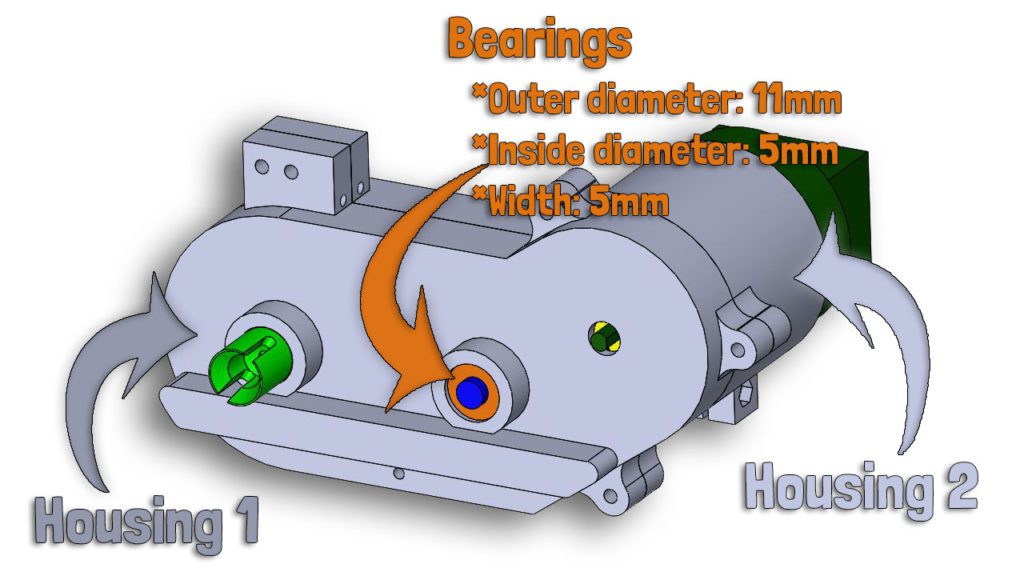
3D printed parts: Housing of the electric motor, housing of the battery, most of the steering system…
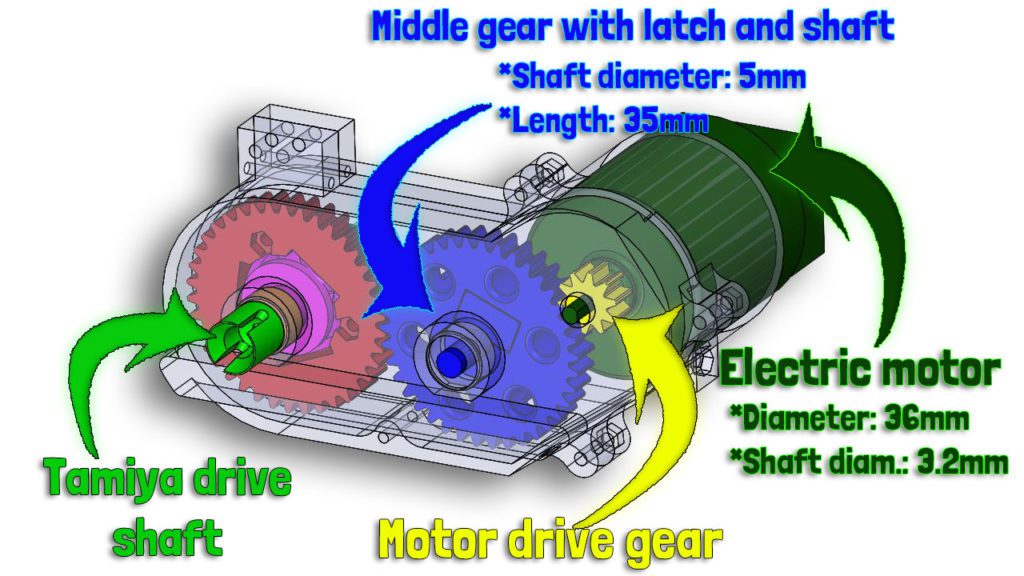
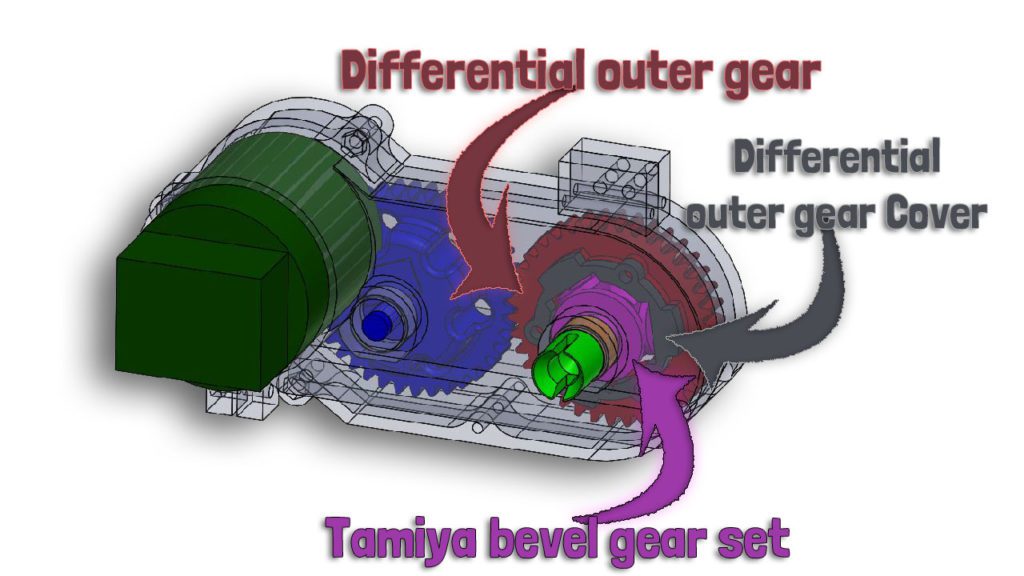
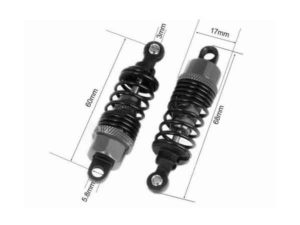
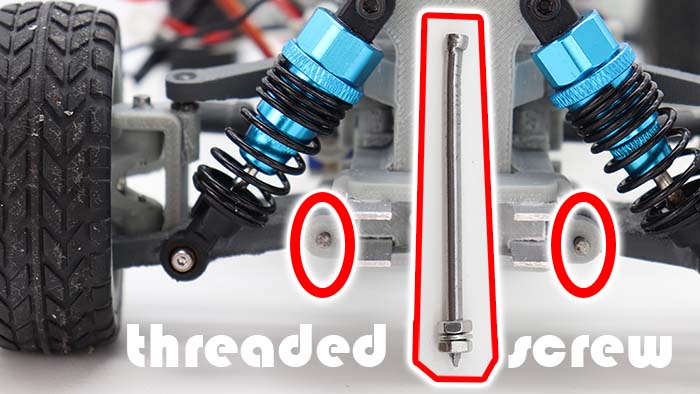
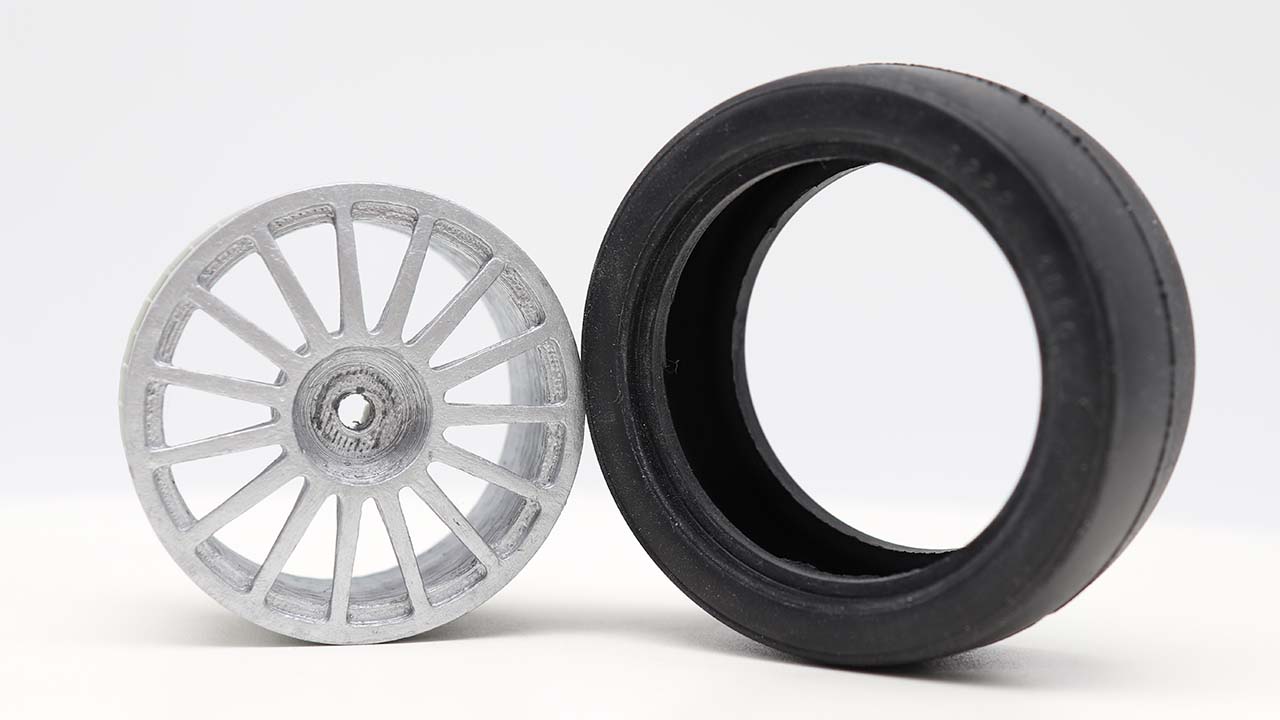
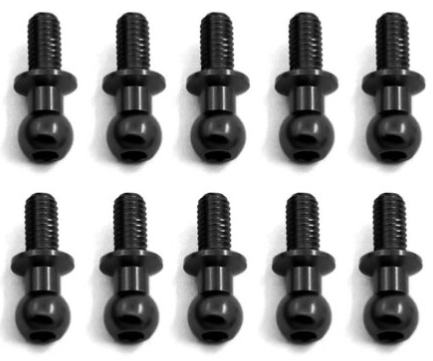
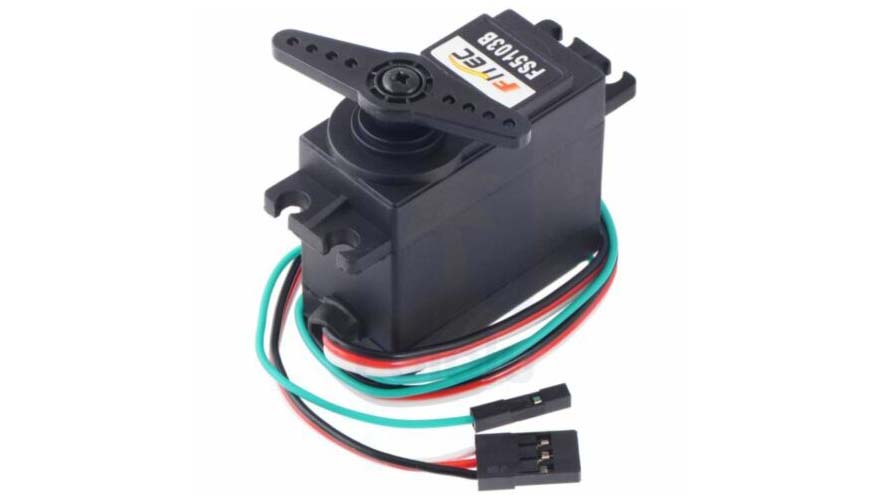
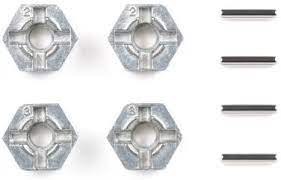
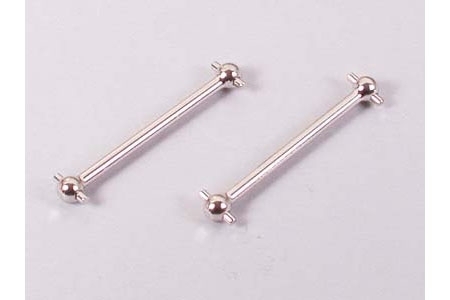
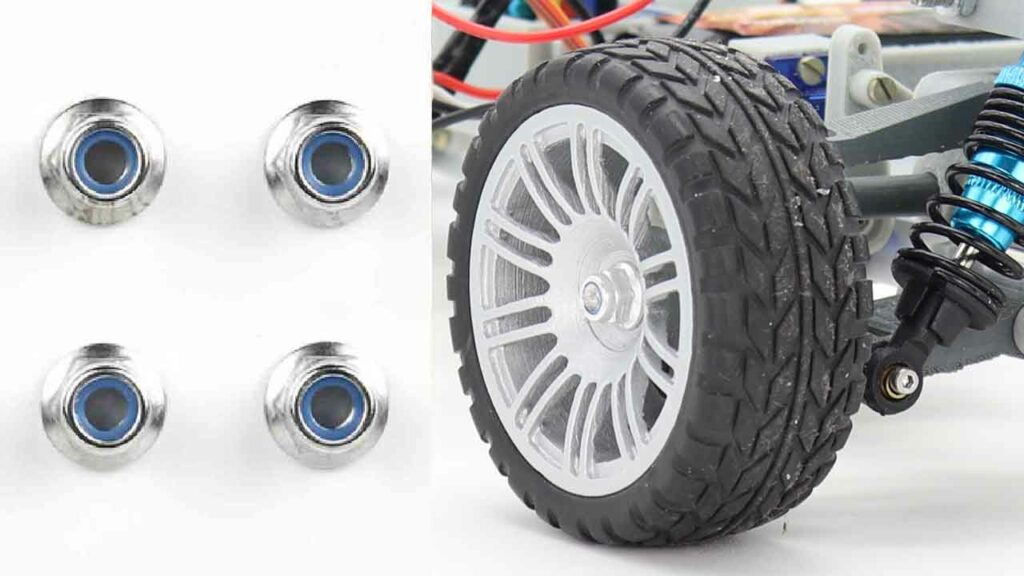
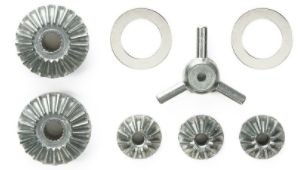
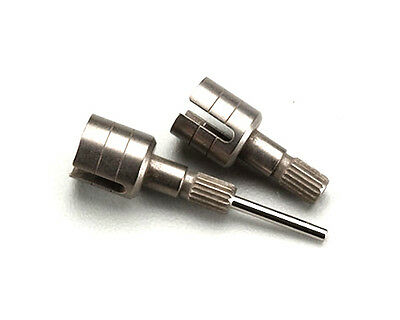
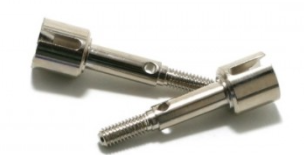
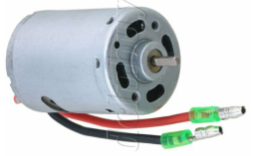
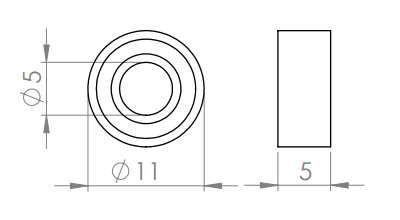
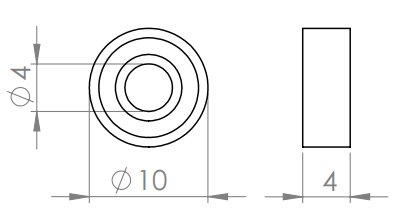
Bought parts are: The suspension (length 60 mm), the different wheel rims with the tires, the servo, the receiver, drive shaft and the differential is from Tamiya, the electric motor (17000 rpm), and of course screws (M2, M3) and the ball joints (M3).
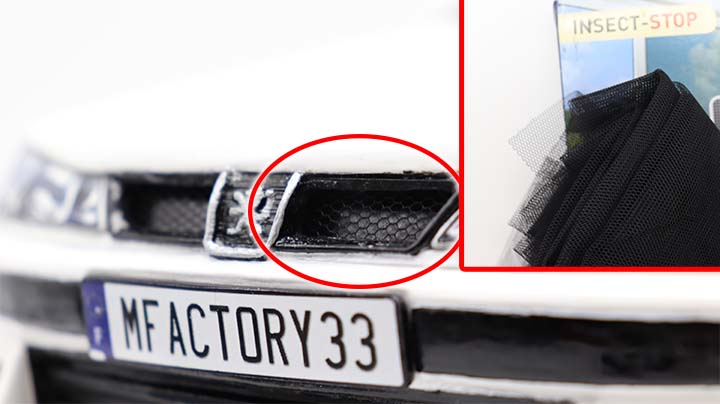
Mosquito net used for front Grille raw material from Hardware Store
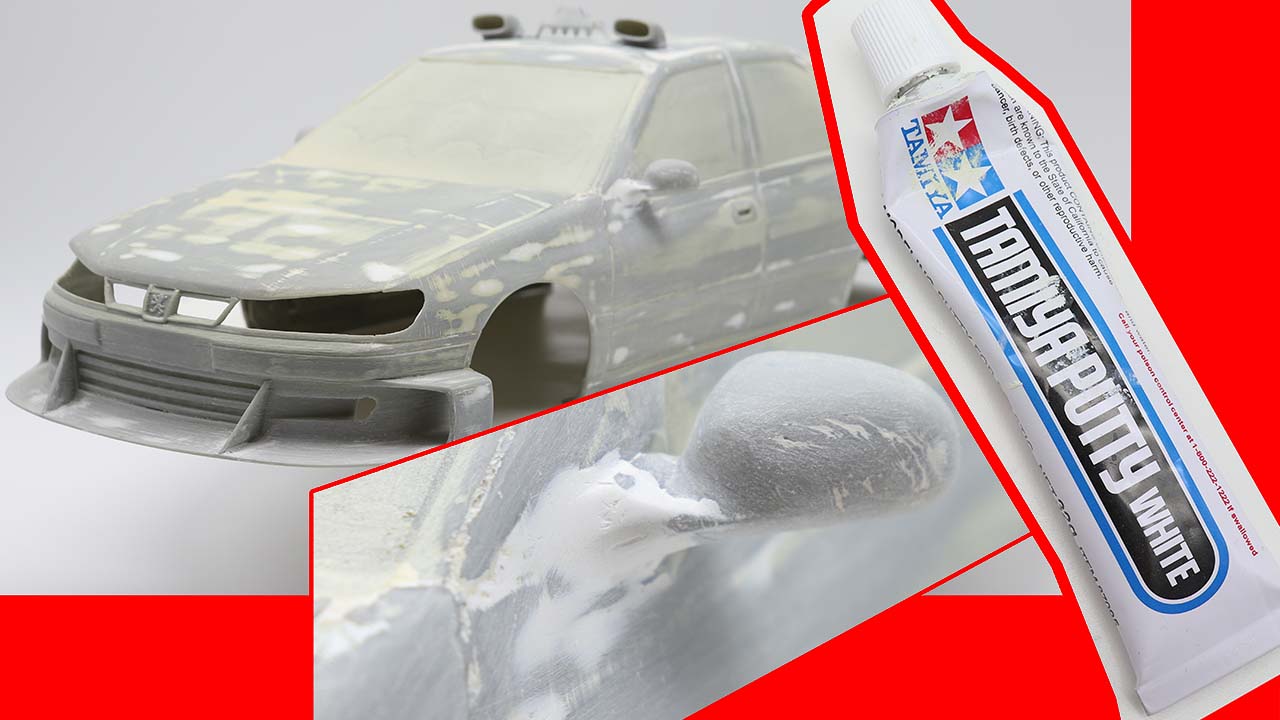
Filling unwanted cracks
Tamiya: 87053
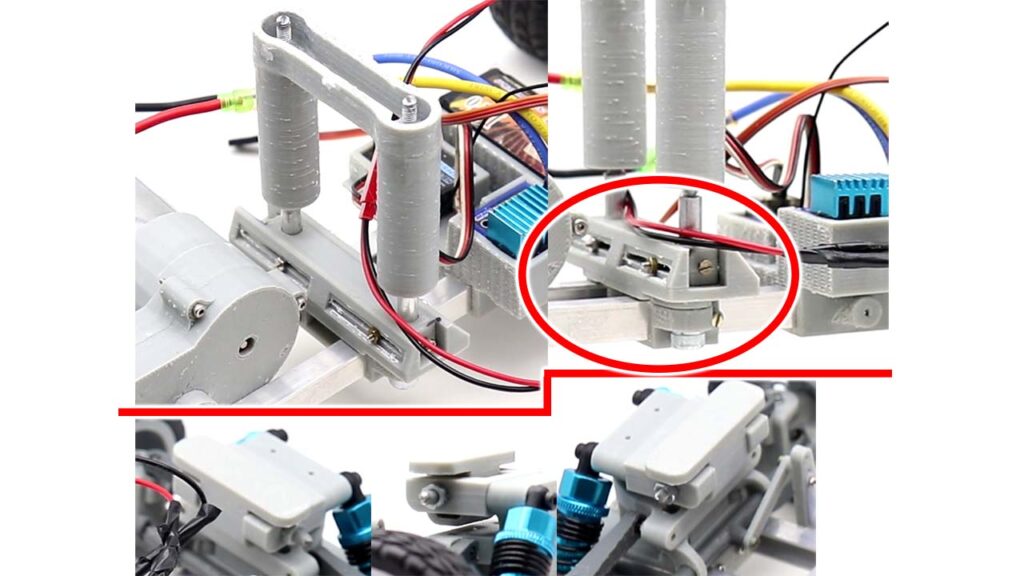
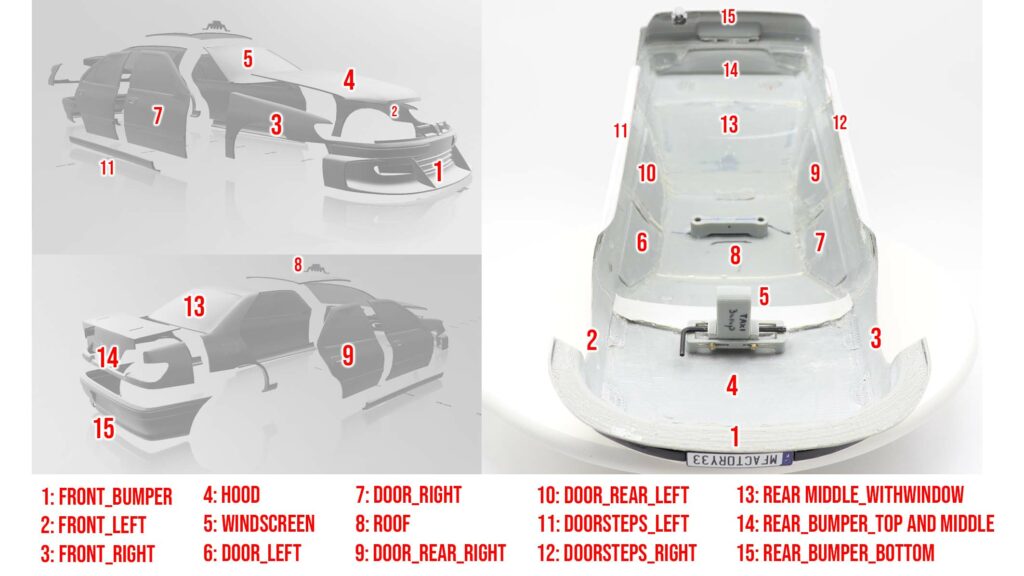
Assembly
Here are the bigger body parts. This has a bit more pieces, because of our printer’s hectic manner.(Smaller parts, less exploding heads at the end of print sessions 🙂
Chassis assembly Video
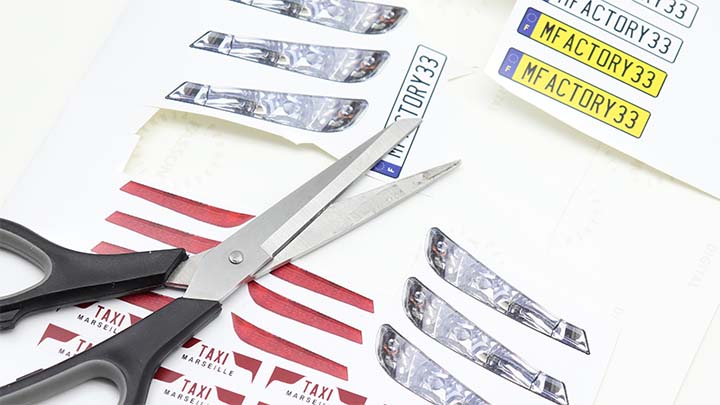
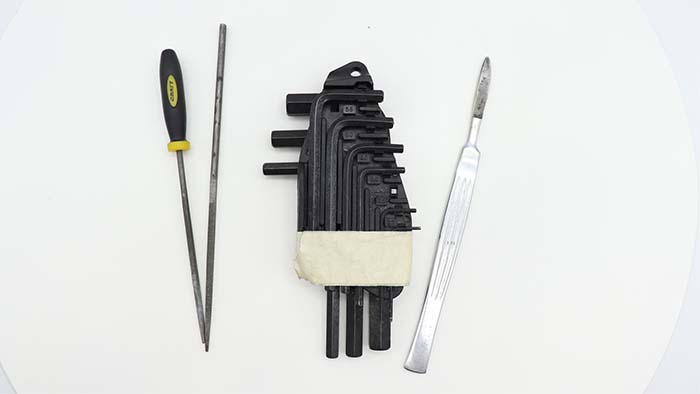
Most used tools
Scalpel&Allenkeys&RASPs
Scalpel for removing print support. Keys for screws. Every kind of Rasps to get the surface smooth and even.
Super glue
Both Gel and Liquid ones. Use GEL when putting parts together. When it holds use LIQUID on the surface.
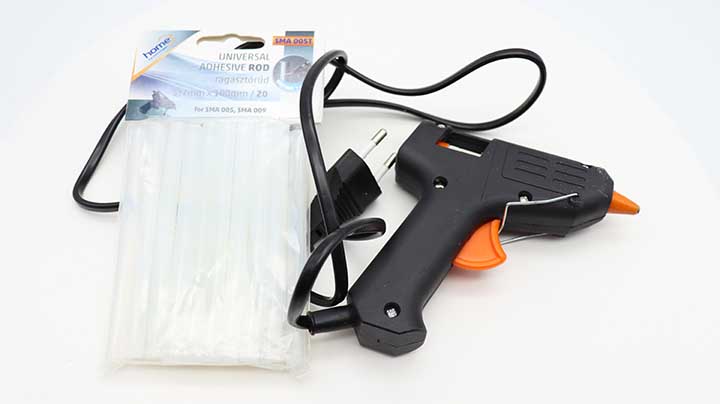
Glue Gun
It’s adhesive sets very quickly. We used it only inside the body kit, because on the surface leaves nasty traces.
 DolphinOriginal price was: $1.00.$0.00Current price is: $0.00.
 Lion Cub$3.00
 Foldable Sheet Box$0.00

Leave a Reply
You must be logged in to post a comment.