How to build a custom 3Dprinted RC Ford Mustang 1967 Fastback?
This is how we did it. With our LEGACY Chassis v.1.1
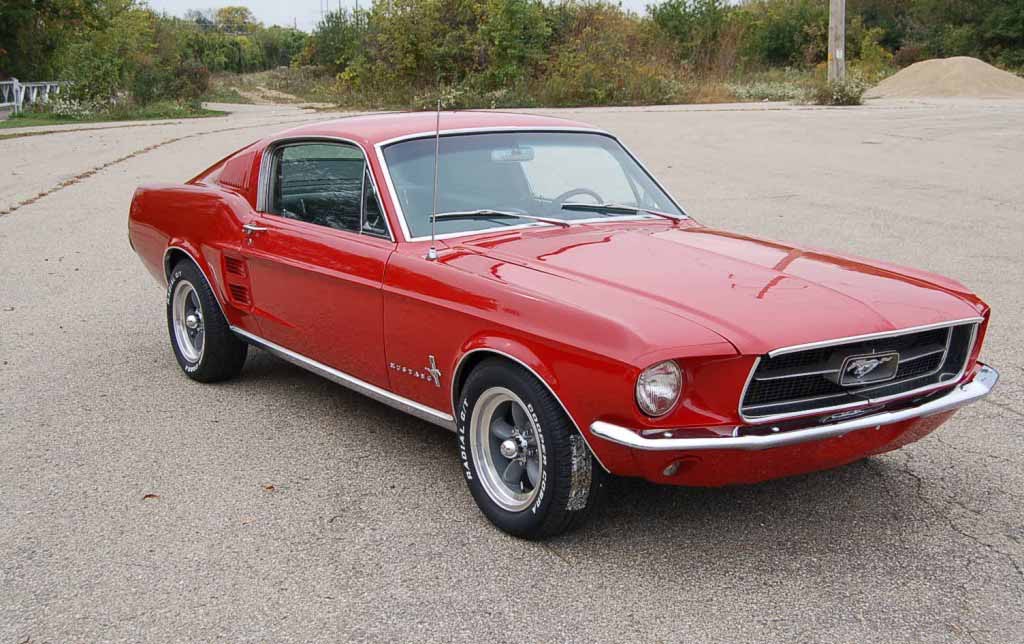
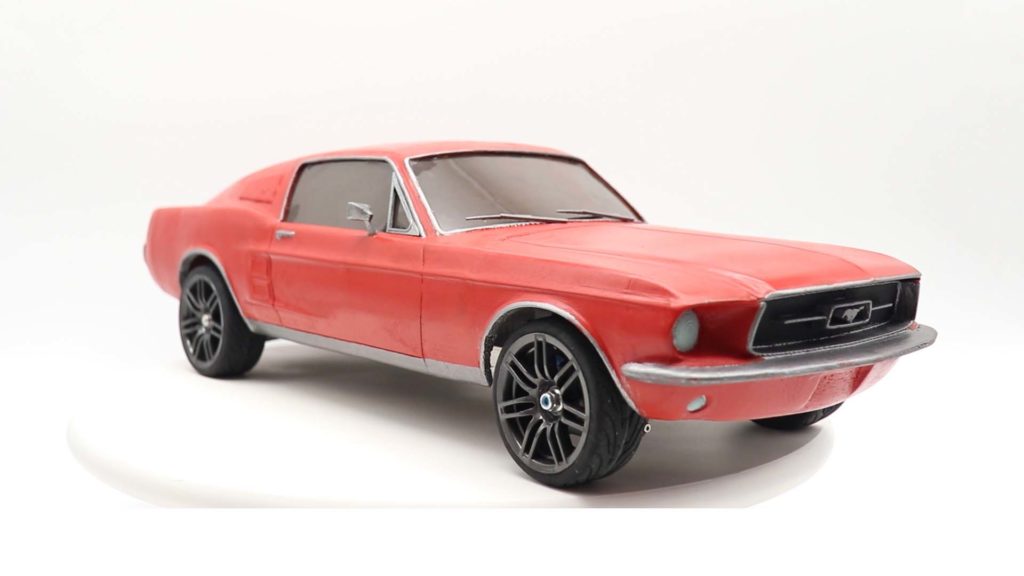
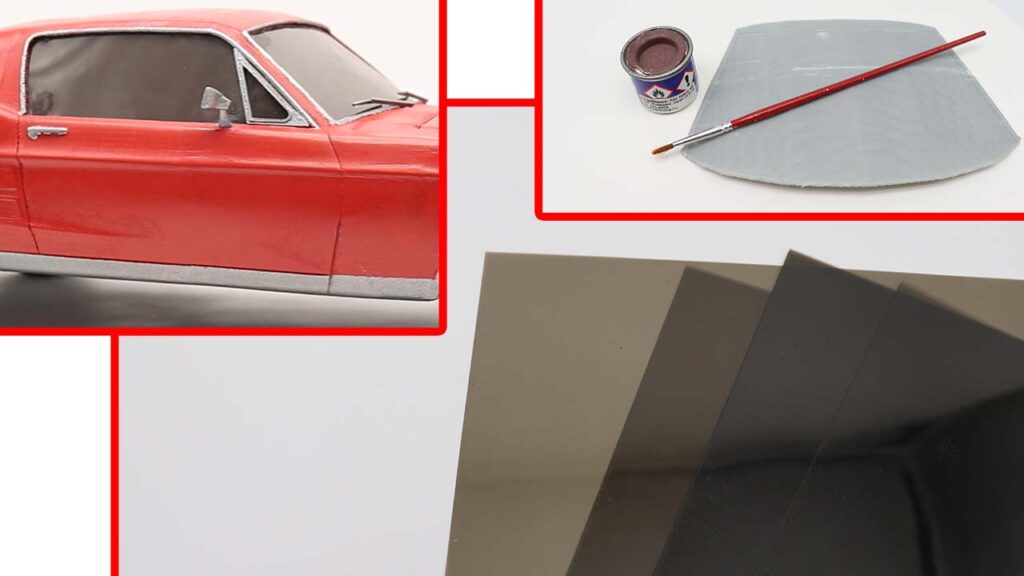
First of all this this beauty here was our role model. The one we strived to recreate miniaturized. We let you be the judge to tell how well it succeeded. Our aim is to get the authentic look as much as possible then test it to its limits.
This is our very first model! Please keep that in mind, since this one we went very far in terms of chassis innovations.
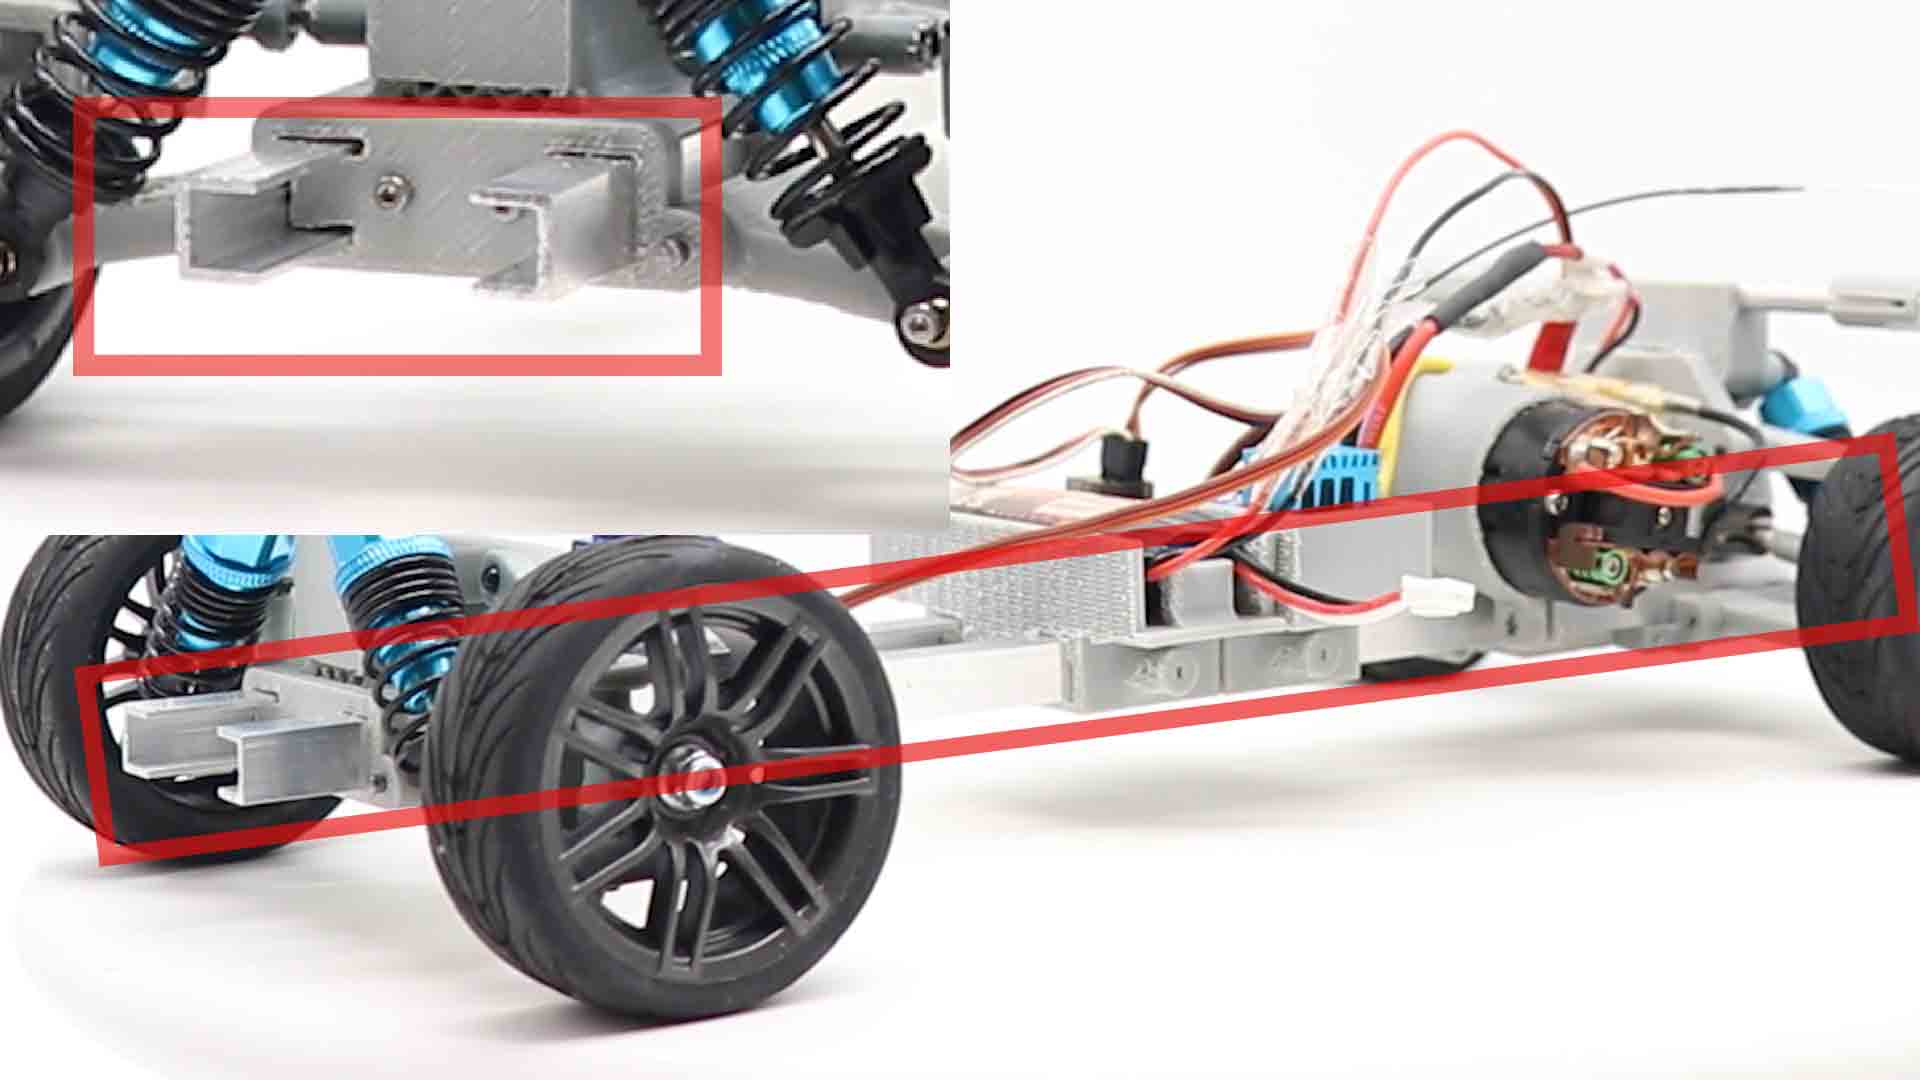
We strive for an ultimate universal chassis because we wanna use it under many 3D printed car bodies. So that’s why the slidable parts. The chassis is built on a 2 (aluminium) U profile (8×10 mm) with bought and 3D printed parts.
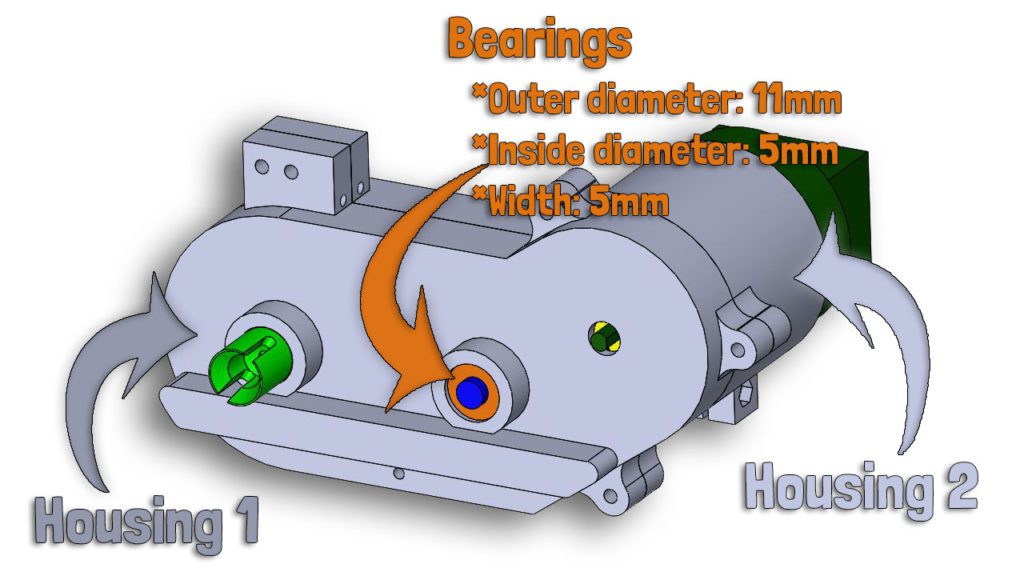
3D printed parts: Housing of the electric motor, housing of the battery, most of the steering system…
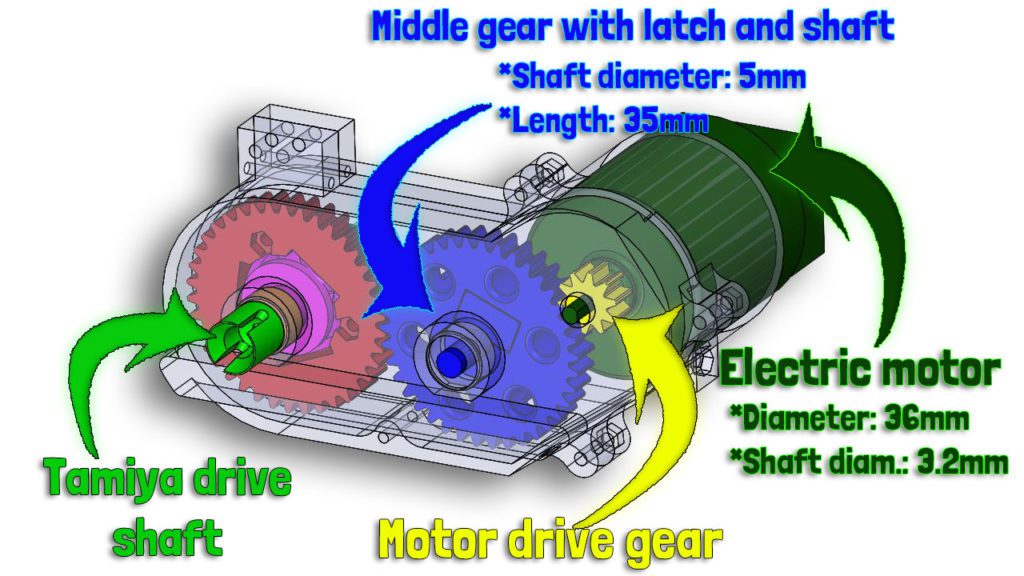
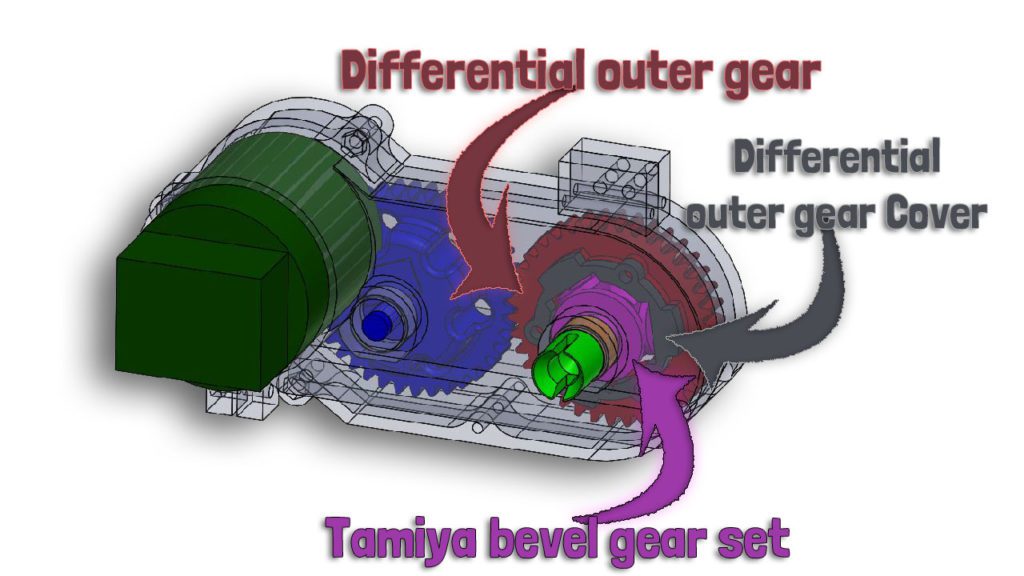
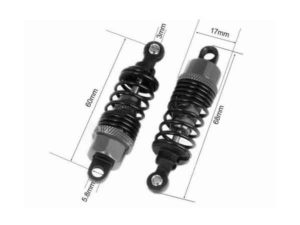
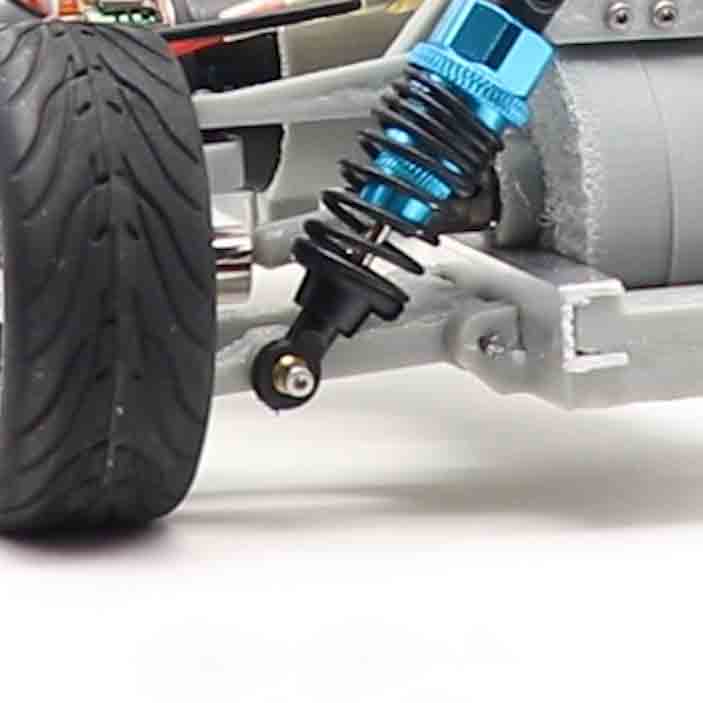
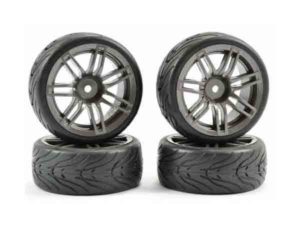
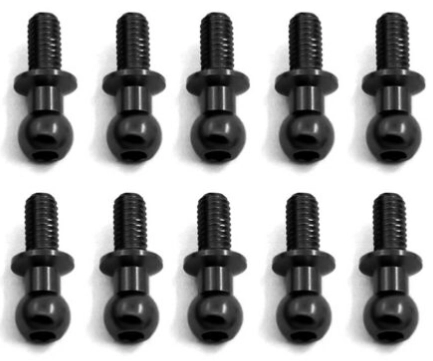
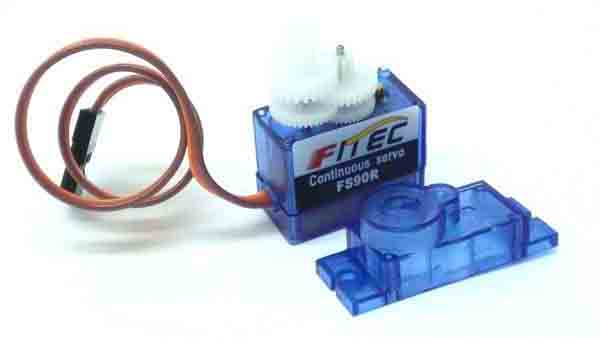
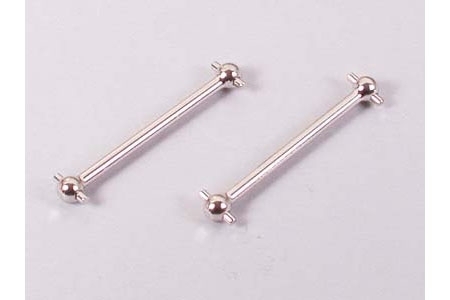
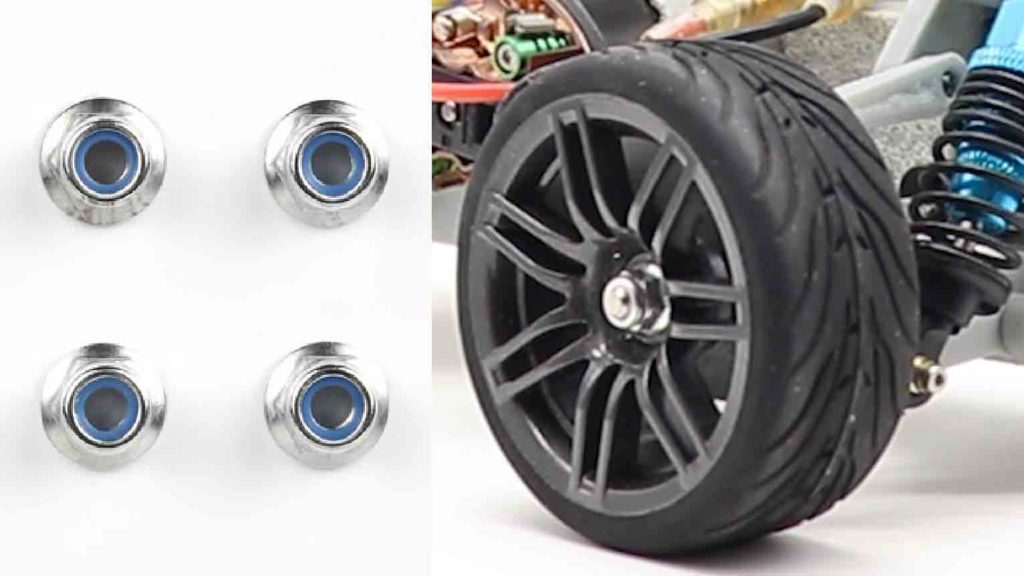
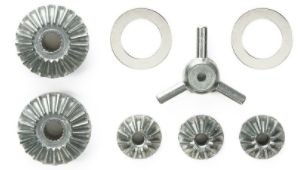
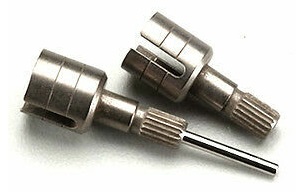
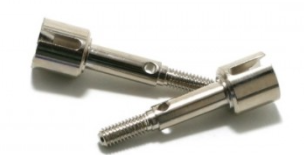
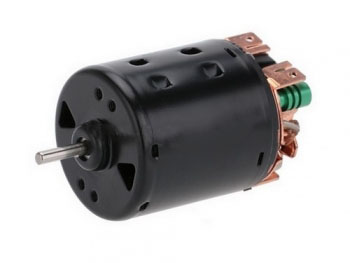
Bought parts are: The suspension (length 60 mm), the wheel rims with the tires, the servo, the receiver, drive shaft and the differential is from Tamiya, the electric motor (8000 rpm), and of course screws (M2, M3) and the ball joints (M3).
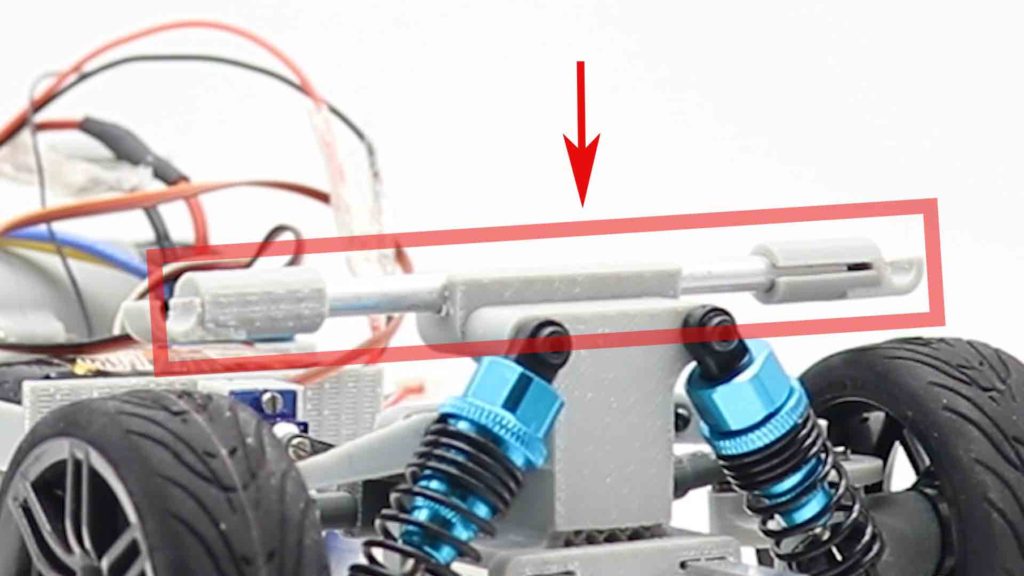
3D Printed base painted Brown, then plastic from Stationery Store glued at the edges to it
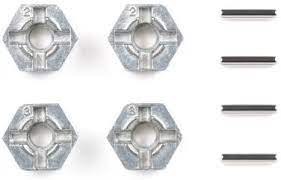
Cross fastener
D6mm tube from harware store
advertisement
Chassis Assembly VIDEO
This video is for v.2.1 (BMW M3 GTR), but the majority of the constituent elements are the same, so you could easily see how to assemble v.1.1 Ford MUSTANG’67
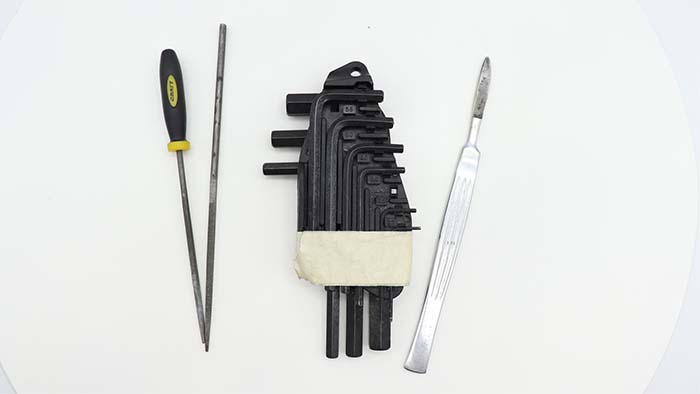
Most used tools
Scalpel&Allenkeys&RASPs
Scalpel for removing print support. Keys for screws. Every kind of Rasps to get the surface smooth and even.
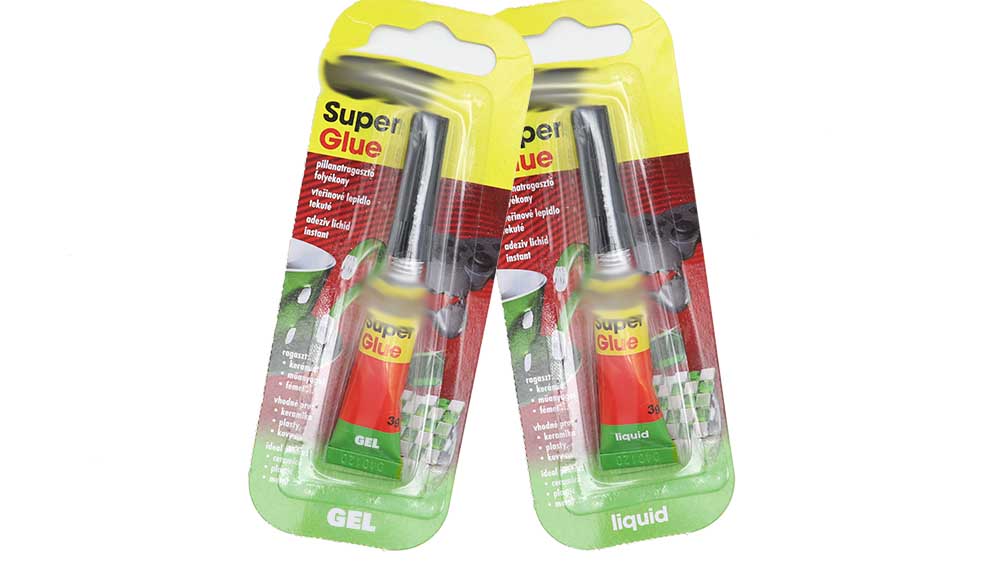
Super glue
Both Gel and Liquid ones. Use GEL when putting parts together. When it holds use LIQUID on the surface.
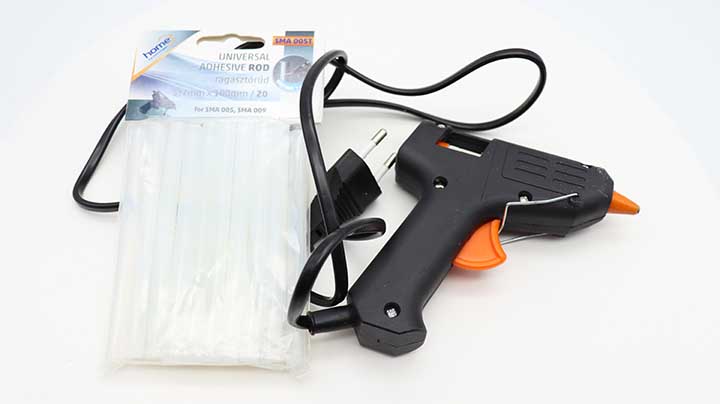
Glue Gun
It’s adhesive sets very quickly. We used it only inside the body kit, because on the surface leaves nasty traces.
 DolphinOriginal price was: $1.00.$0.00Current price is: $0.00.
 Lion Cub$3.00
 Foldable Sheet Box$0.00
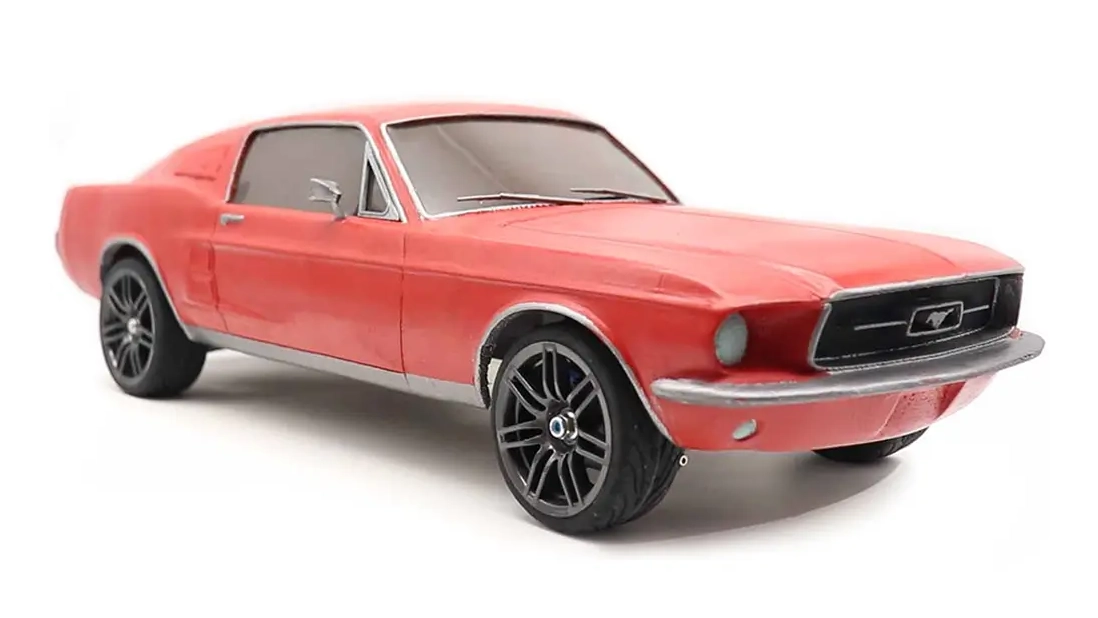
Leave a Reply
You must be logged in to post a comment.