Your cart is currently empty!
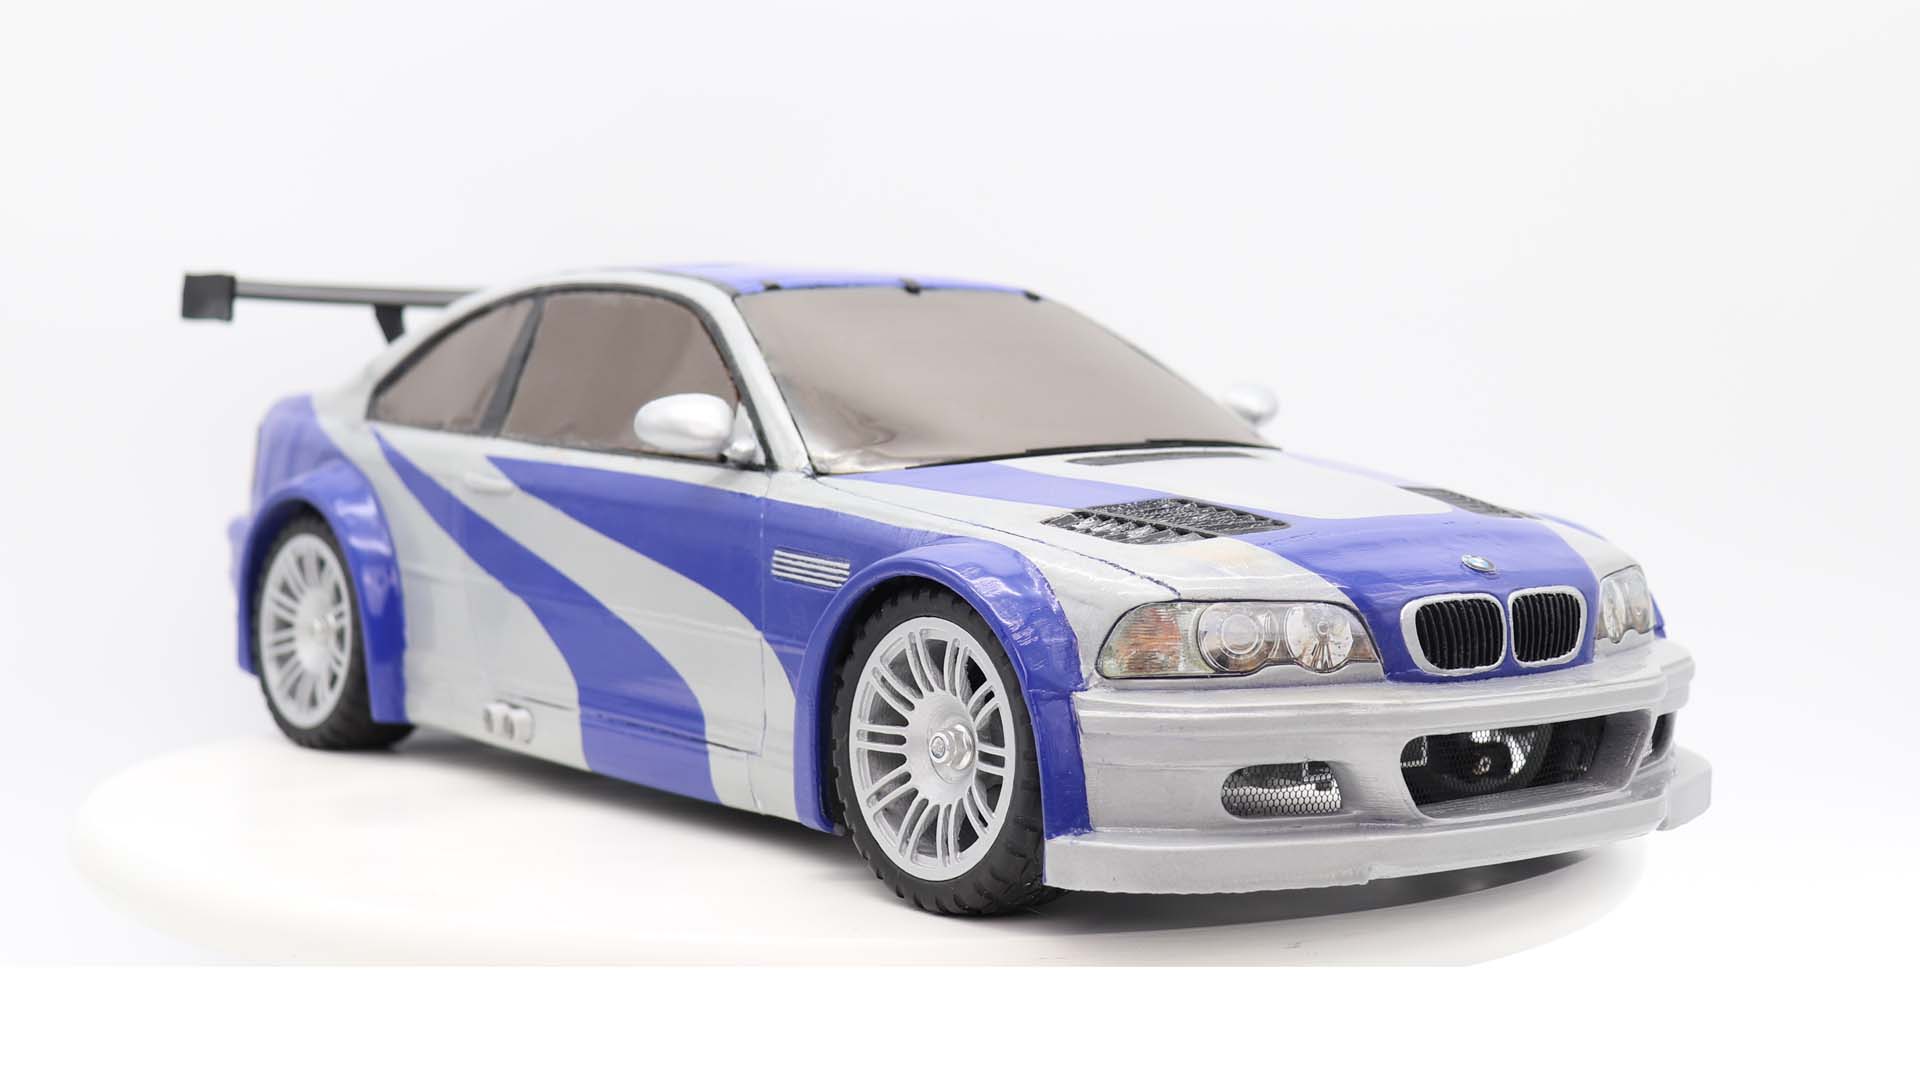
How to build a custom 3Dprinted RC BMW M3 GTR (e46)?
This is how we did it. With our LEGACY Chassis v.2.1
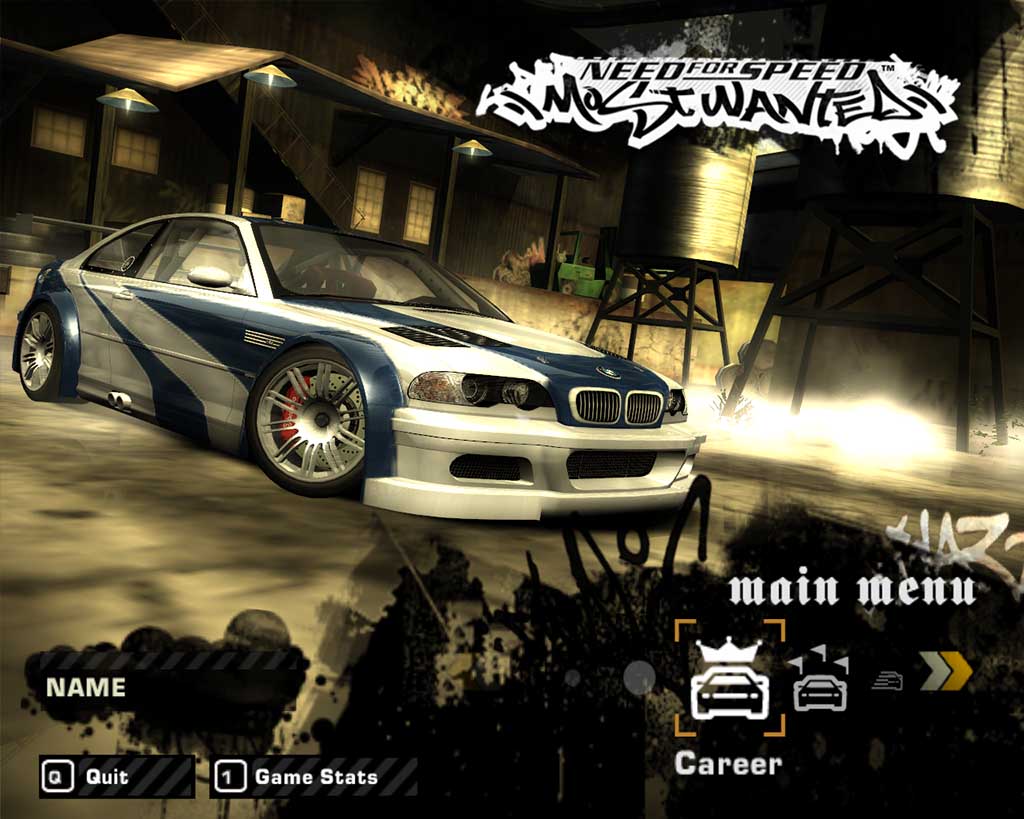
Were you a teenager and a car enthusiast around 2005 ish? Well, then you’re just like us! NFS M3 GTR We Forever Love YOU 😀
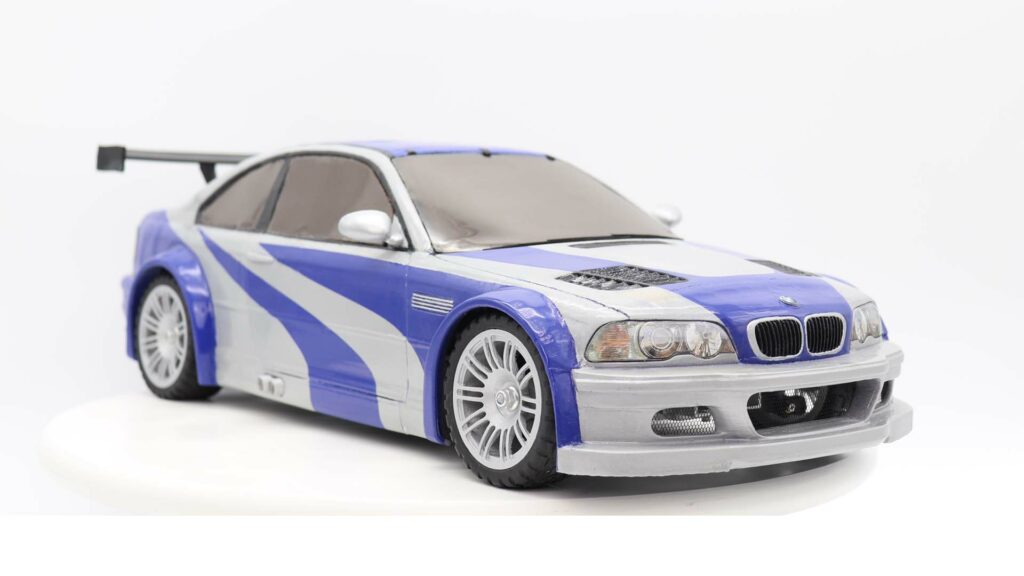
As always we let you be the judge to tell how well we could capture it.
Our aim was to get it as much authentic as possible.
advertisement
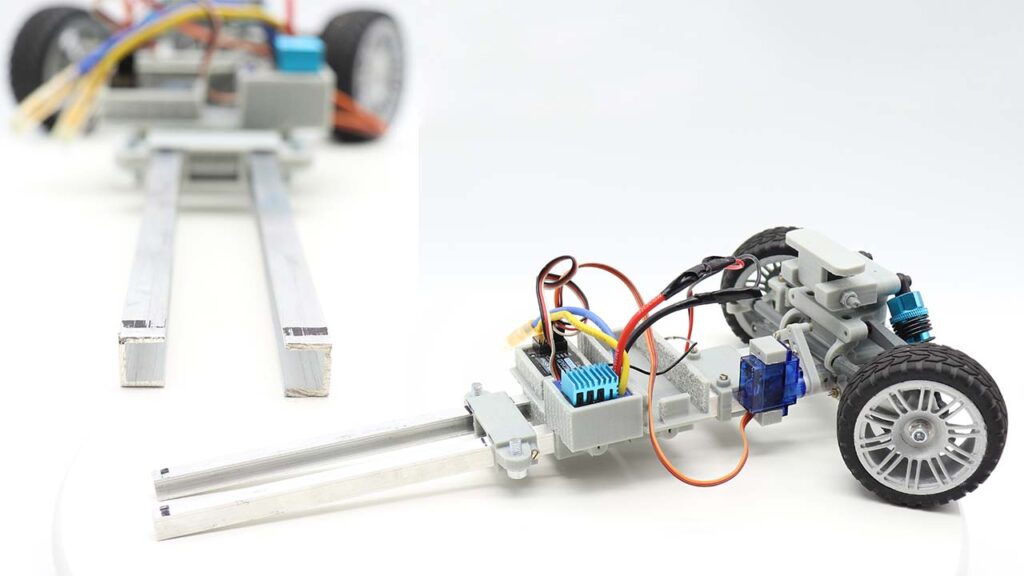
Chassis v.2.1 (BMW M3 GTR)
This is a Legacy Chassis! Click to v.2.3
Chassis dimensions
| Wheelbase | 270mm |
| Front Wheel Track | 183mm |
| Rear Wheel Track | 183mm |
In the name you can see v.2.1 this means it is our 1st generation chassis system the U profile based one.
We strive for an ultimate universal chassis because we wanna use it under many 3D printed car bodies. So that’s why we created the slideable parts.
The chassis is built on a 2 (aluminium) U profile (8×10 mm) with bought and 3D printed parts.
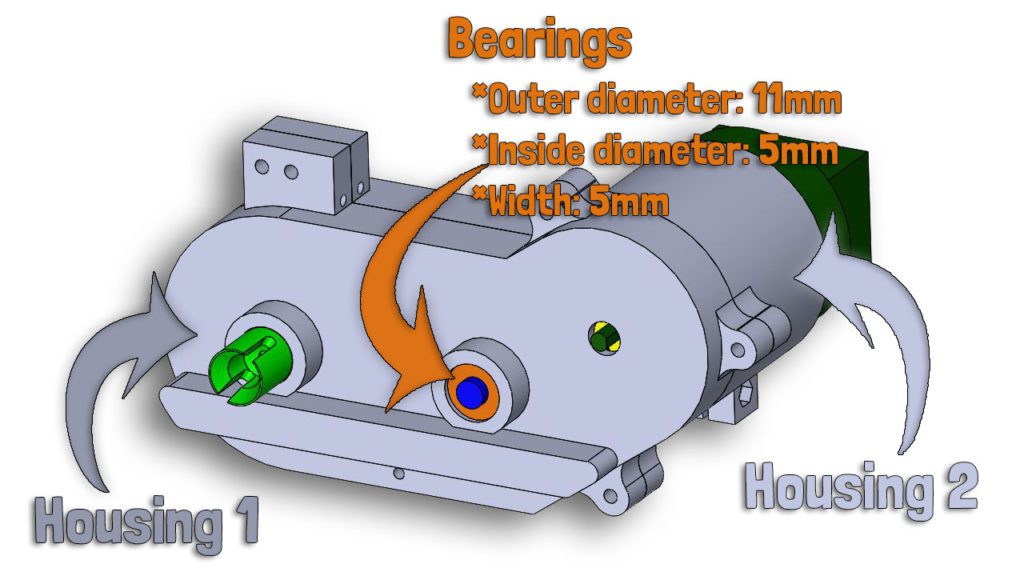
3D printed parts: Housing of the electric motor, housing of the battery, most of the steering system…
Bought parts are:
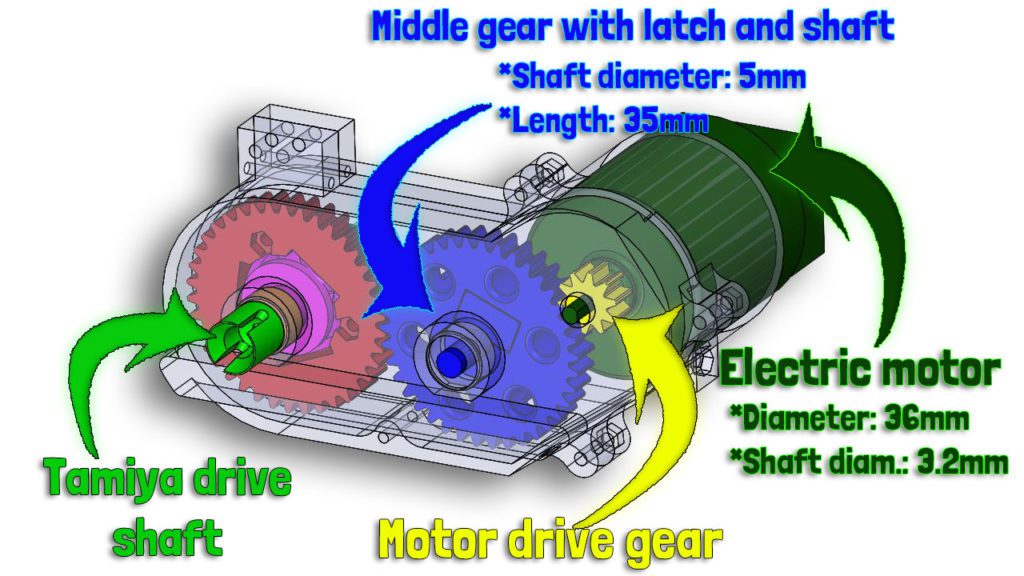
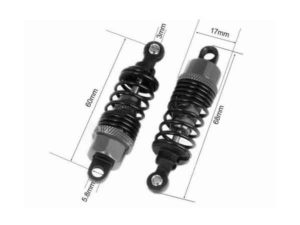
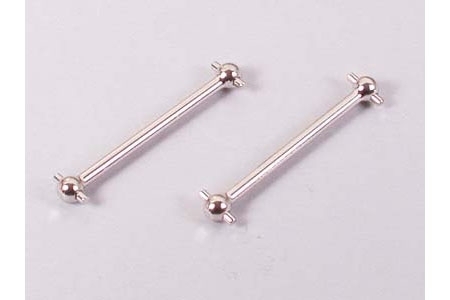
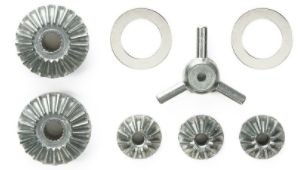
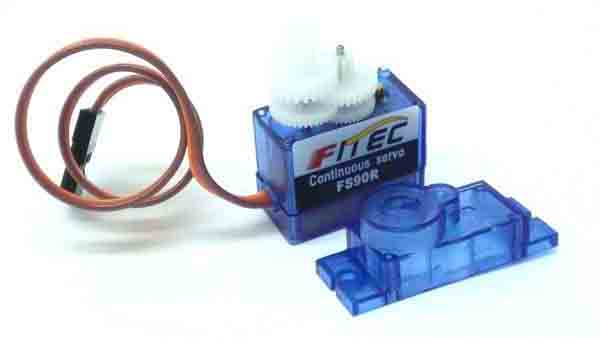
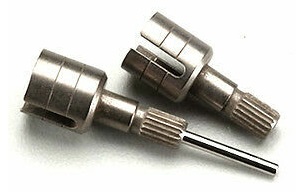
The suspension (length 60 mm), the different wheel rims with the tires, the servo, the receiver, drive shaft and the differential is from Tamiya, the electric motor (17000 rpm), and of course screws (M2, M3) and the ball joints (M3).
Parts list of Chassis v.2.1 (1st generation)
Screws and nuts:
M4x40 1 piece + M4 nut
M4x~25 2 piece
M2x12 ~50 pieces
M2x16 ~16 pieces
M2x20 ~16 pieces
M2x8 ~ 8 pieces
Nails:
D2x38 4 pieces
Threaded rods:
M4 2 pieces 47mm long
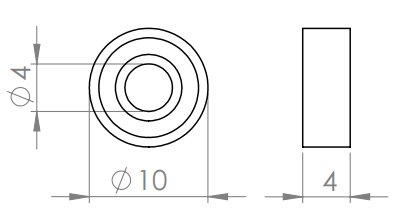
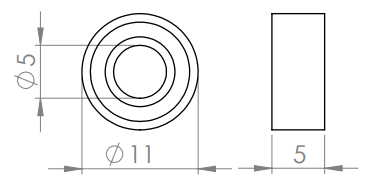
Bearings:
4x10x4 4 pieces
5x11x5 8 pieces
Download CHASSIS
STL files archived with WinRAR
advertisement
The whole design is made for scale 1:10
This is our second model’s self-developed Chassis.
It’s not perfect, but definitely
better than the first one!
3D printing settings we used
3D Printer: Zortrax M200 plus
Technology: LPD
Used material: ABS filamen
Slicer program: Zortrax Z-SUITE
Settings:
Infill: 20%
Recomended layer height: 0.2mm
Support was set automatically by the program
Got a question about building Know-How?
Ask us on Facebook!
Don’t Miss the Next Project SUBSCRIBE on YouTube.
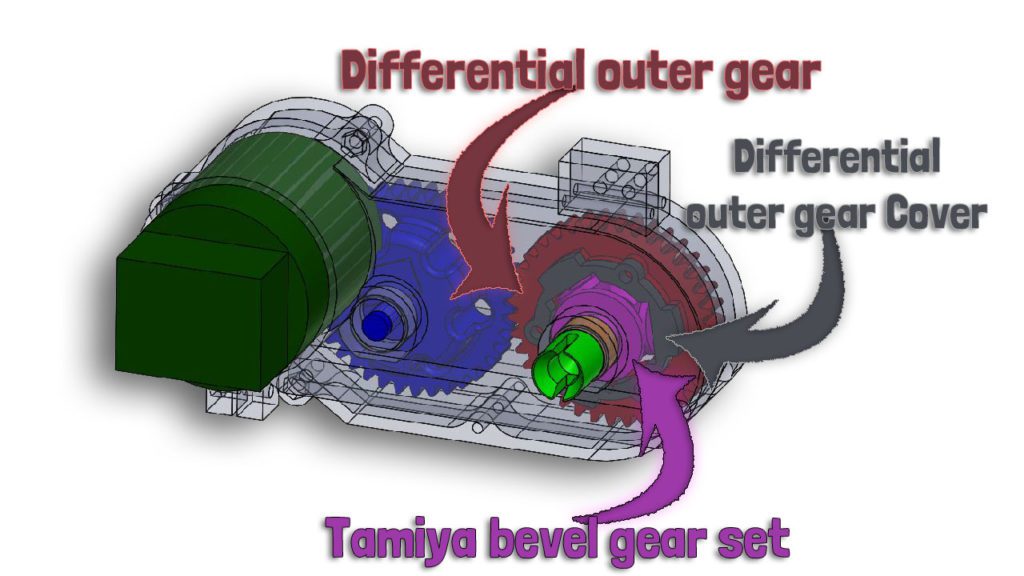
Gearbox
advertisement
Non-printed parts and general INFO of 3Dprinted BMW M3 e46 GTR
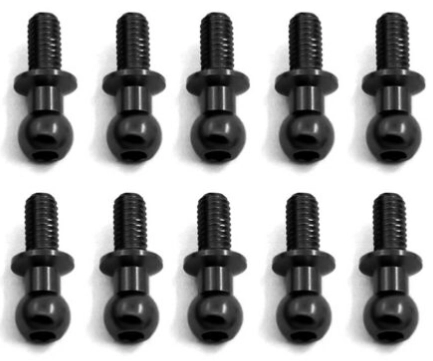
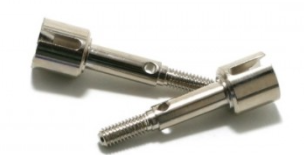
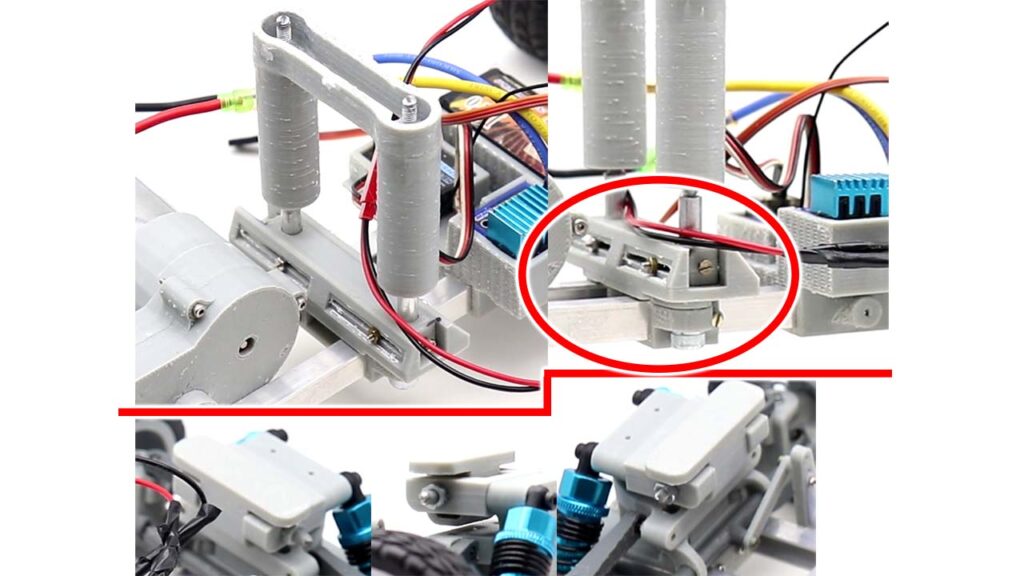
Rocking arm screws
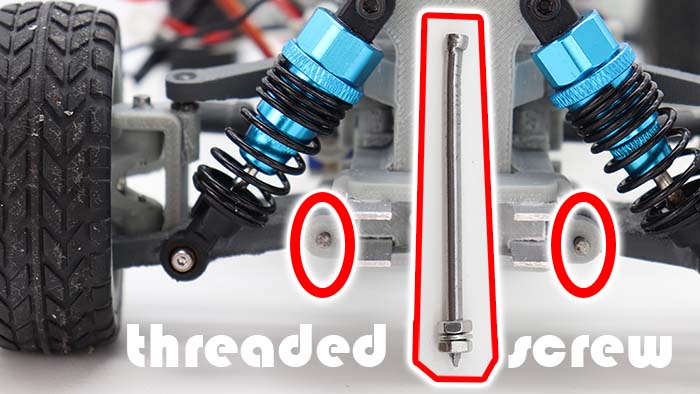
2mm nail 35-40mm long. Threaded (DIY), used as a screw. Note: Spring washer used!
Tires
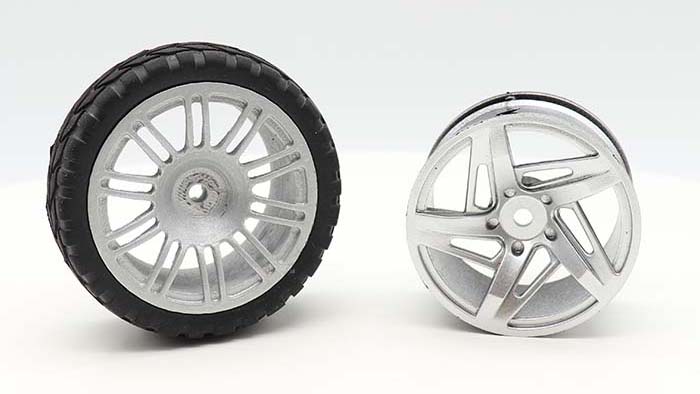
Get a 1:10 wheels from any RC shop then use the tires for your own printed Rims Browse on ebay
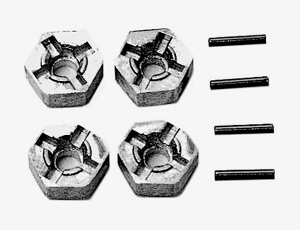
Flange lock nut
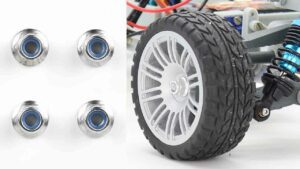
Tamiya: 53024
Get it on ebay
Motor 540
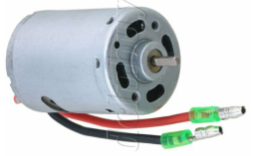
7.2 – 12 V , 20.000 rpm
Body mounting system
Middle and Frontal mount developed by us
Vinyls used for Lights
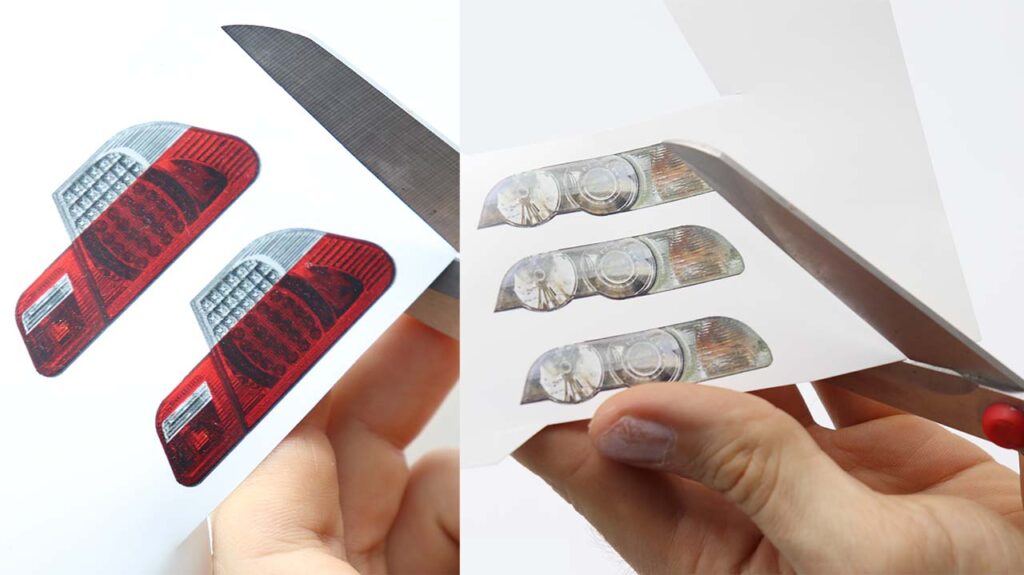
Head and Rear lights printed on adhesive paper
Bumper Grille

Mosquito net used at front Bumper raw material from Hardware Store
Windows
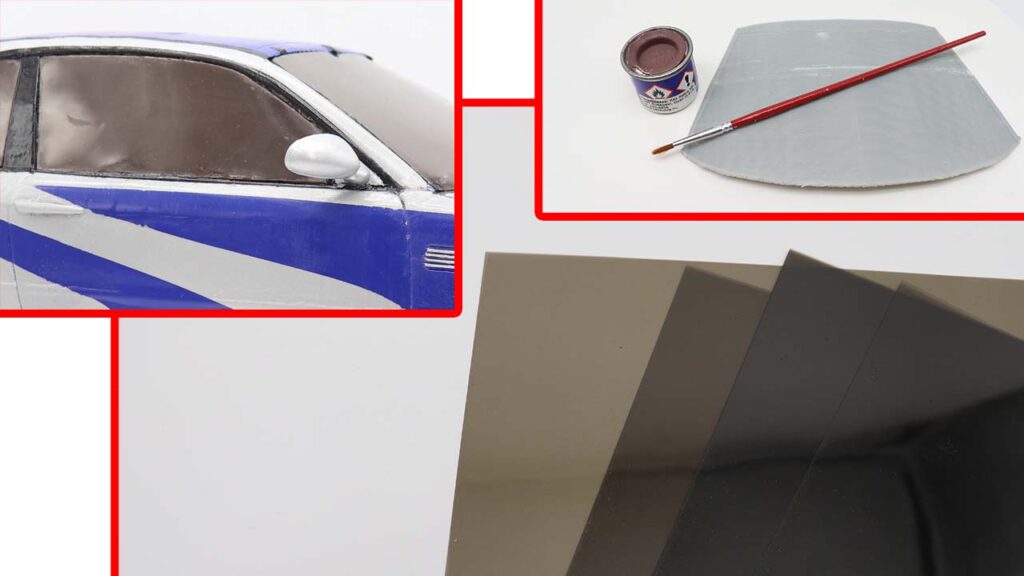
3D Printed base painted Brown, then plastic from Stationery Store glued at the edges to it
advertisement
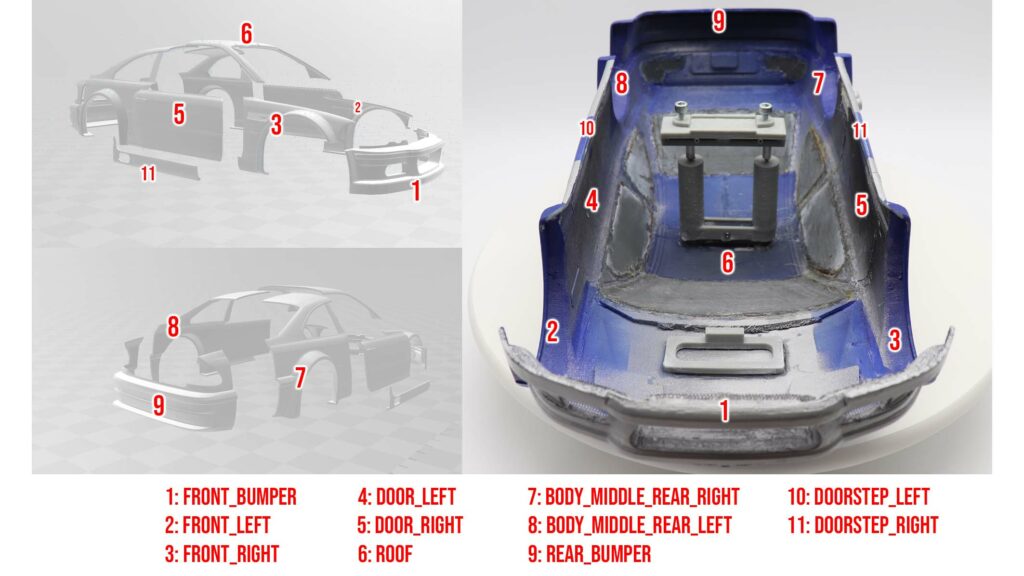
Assembly
Here are the bigger body parts
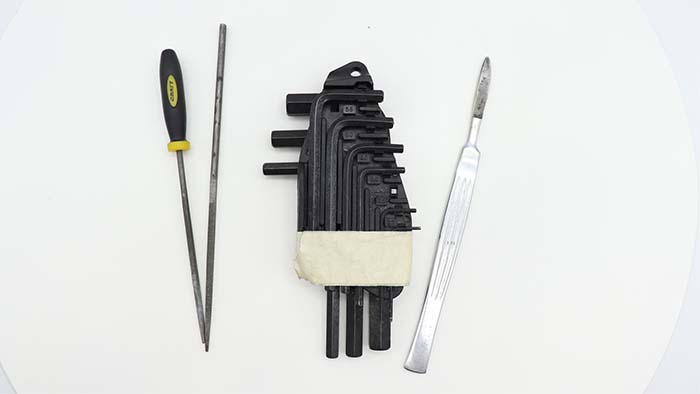
Most used tools
Scalpel&Allenkeys&RASPs
Scalpel for removing print support. Keys for screws. Every kind of Rasps to get the surface smooth and even.
Super glue
Both Gel and Liquid ones. Use GEL when putting parts together. When it holds use LIQUID on the surface.

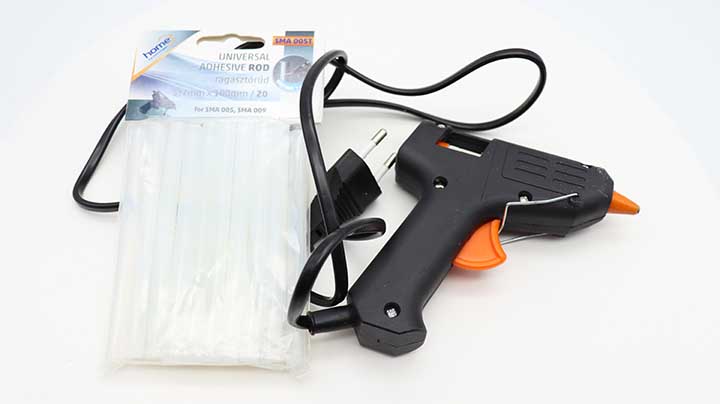
Glue Gun
It’s adhesive sets very quickly. We used it only inside the body kit, because on the surface leaves nasty traces.
advertisement
Leave a Reply
You must be logged in to post a comment.